Professional Home Remodeling Experts
Since 1985.

Before & after photos

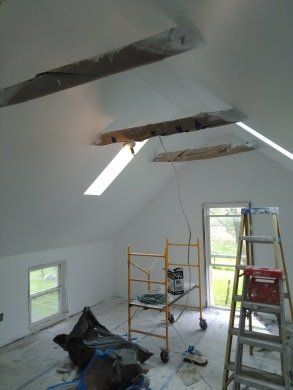
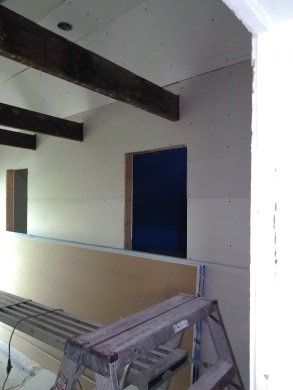
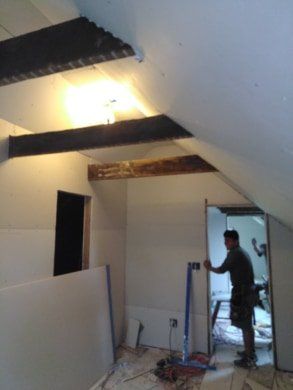
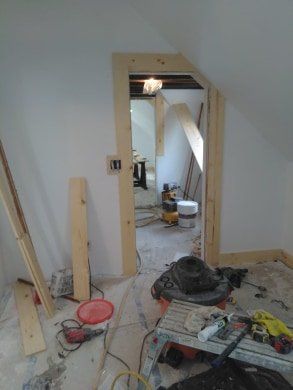
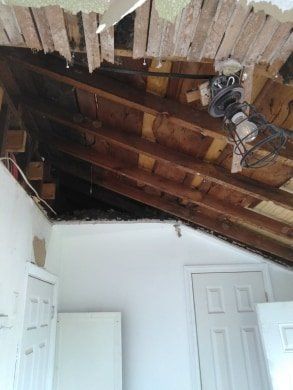
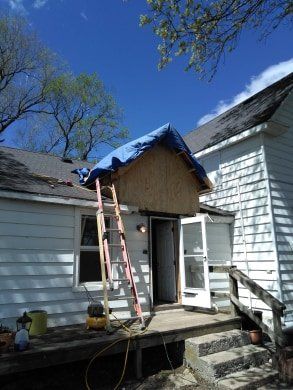
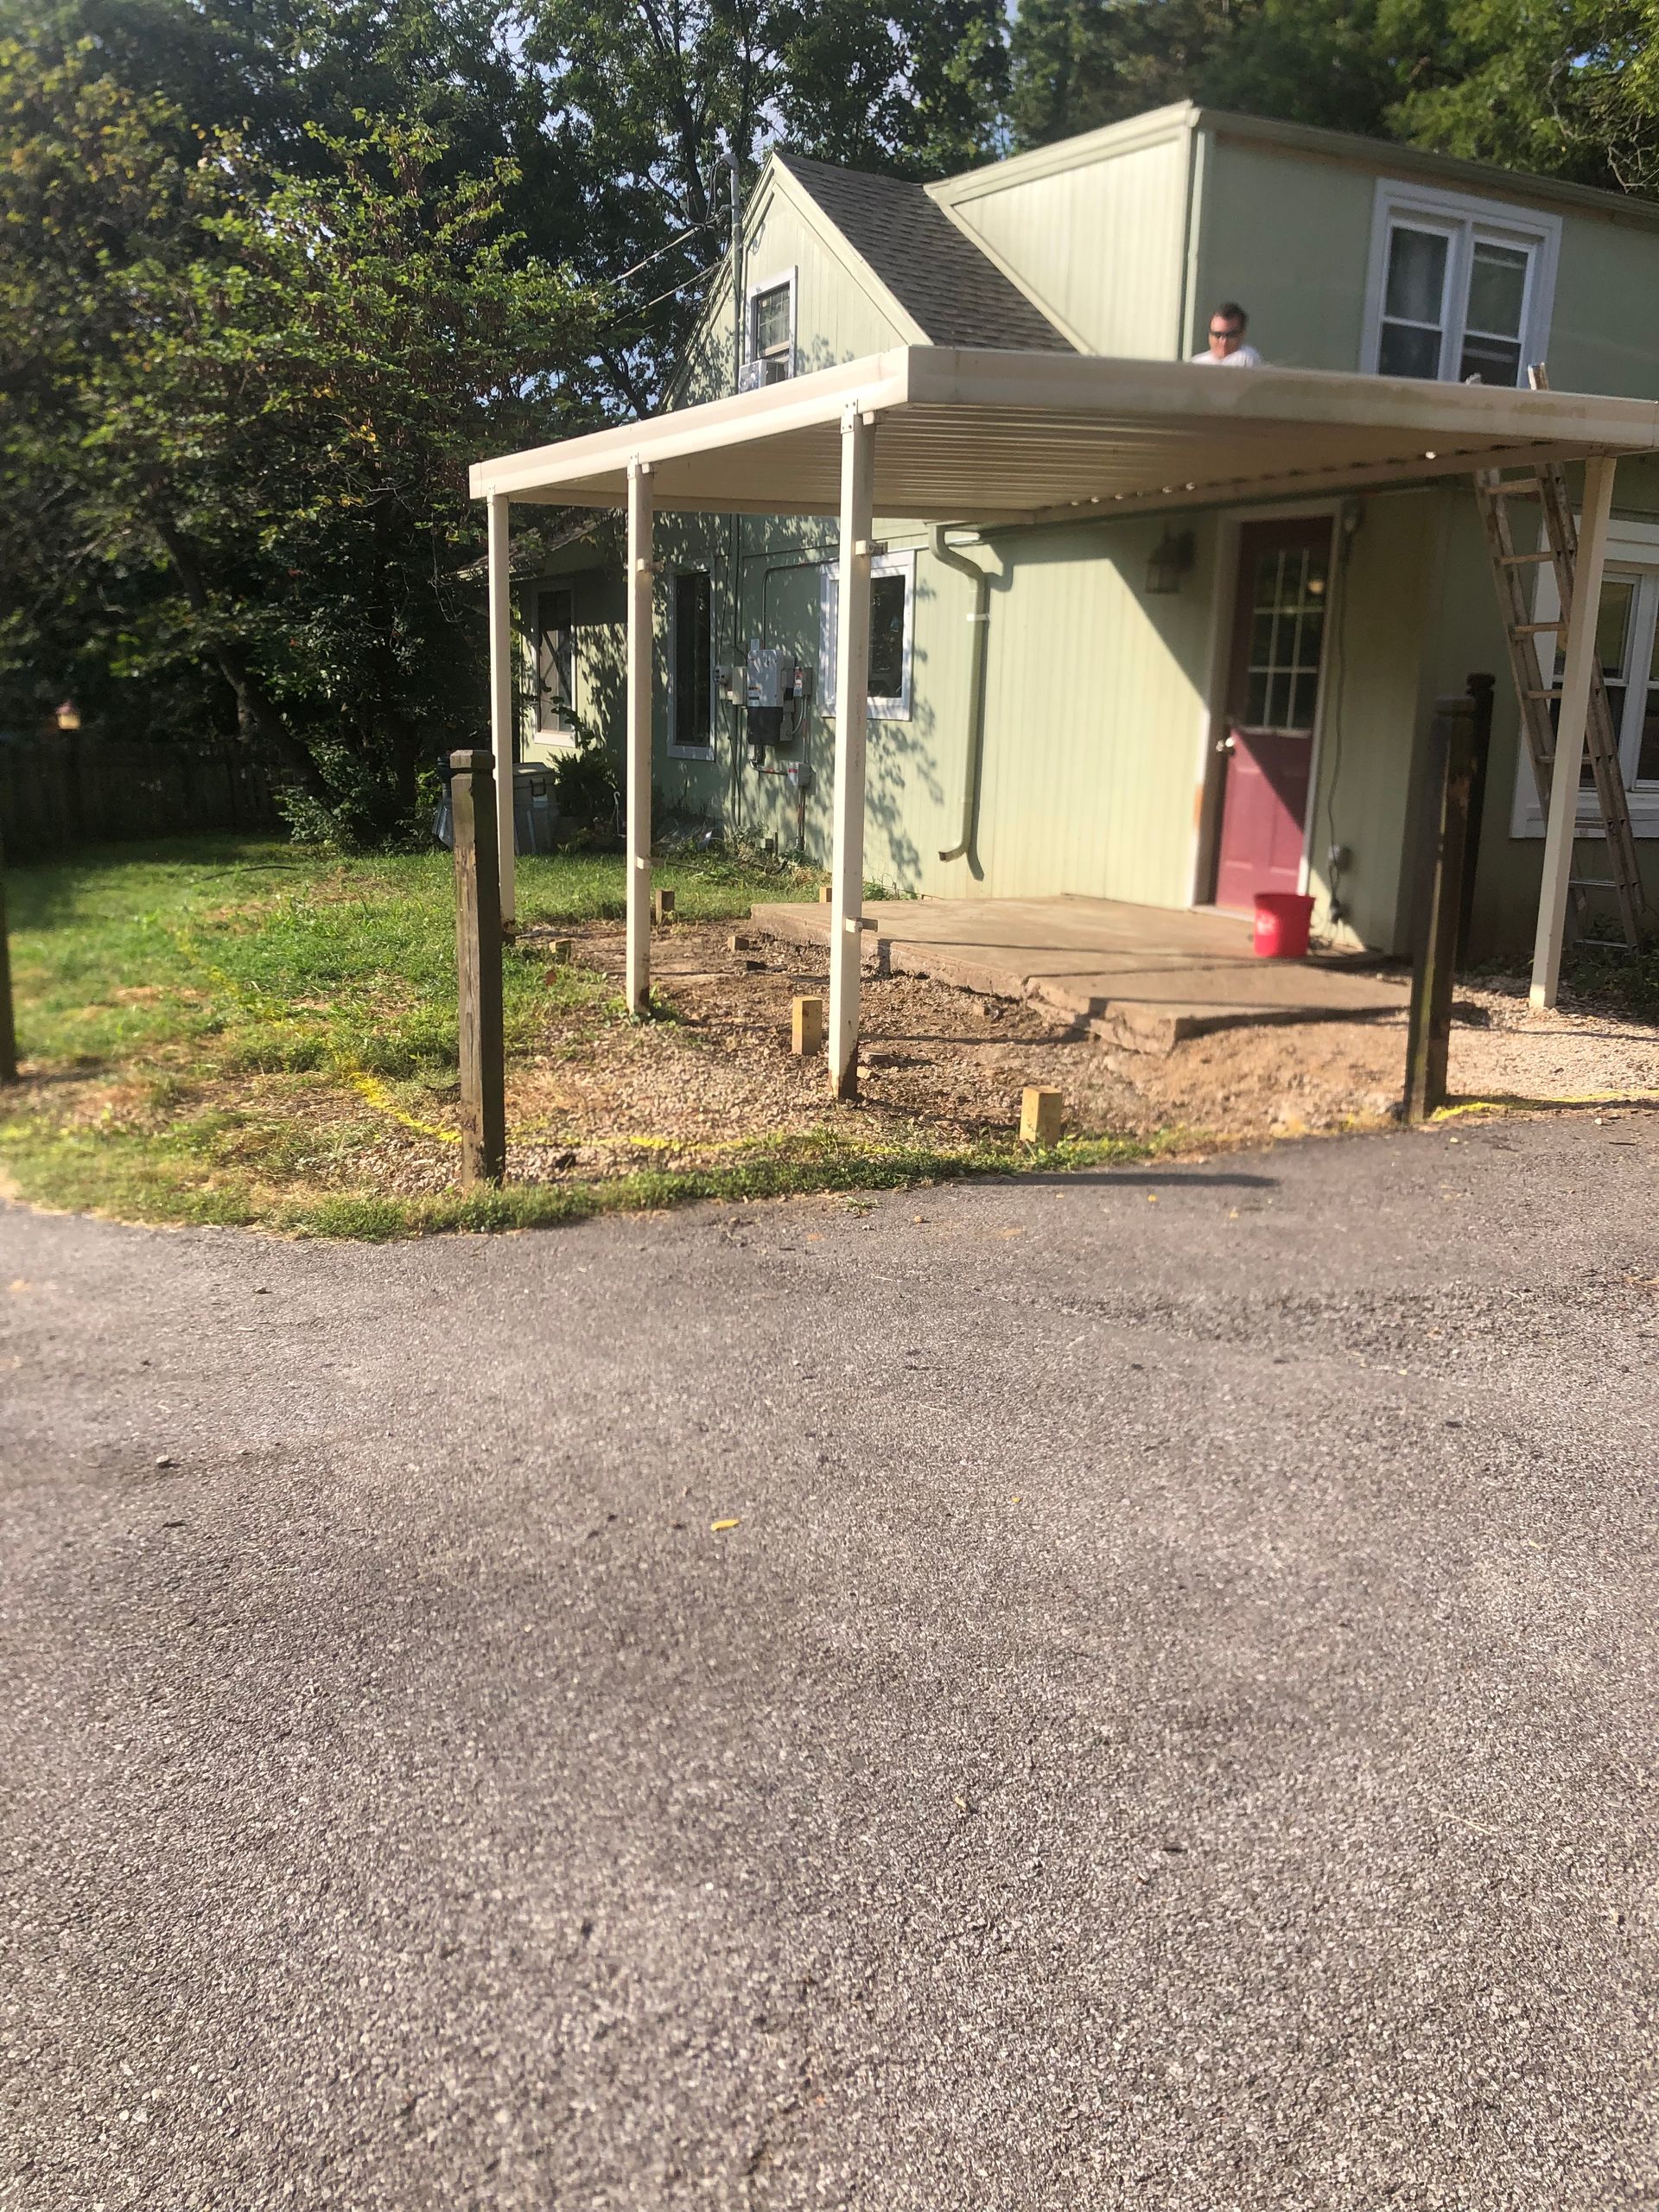
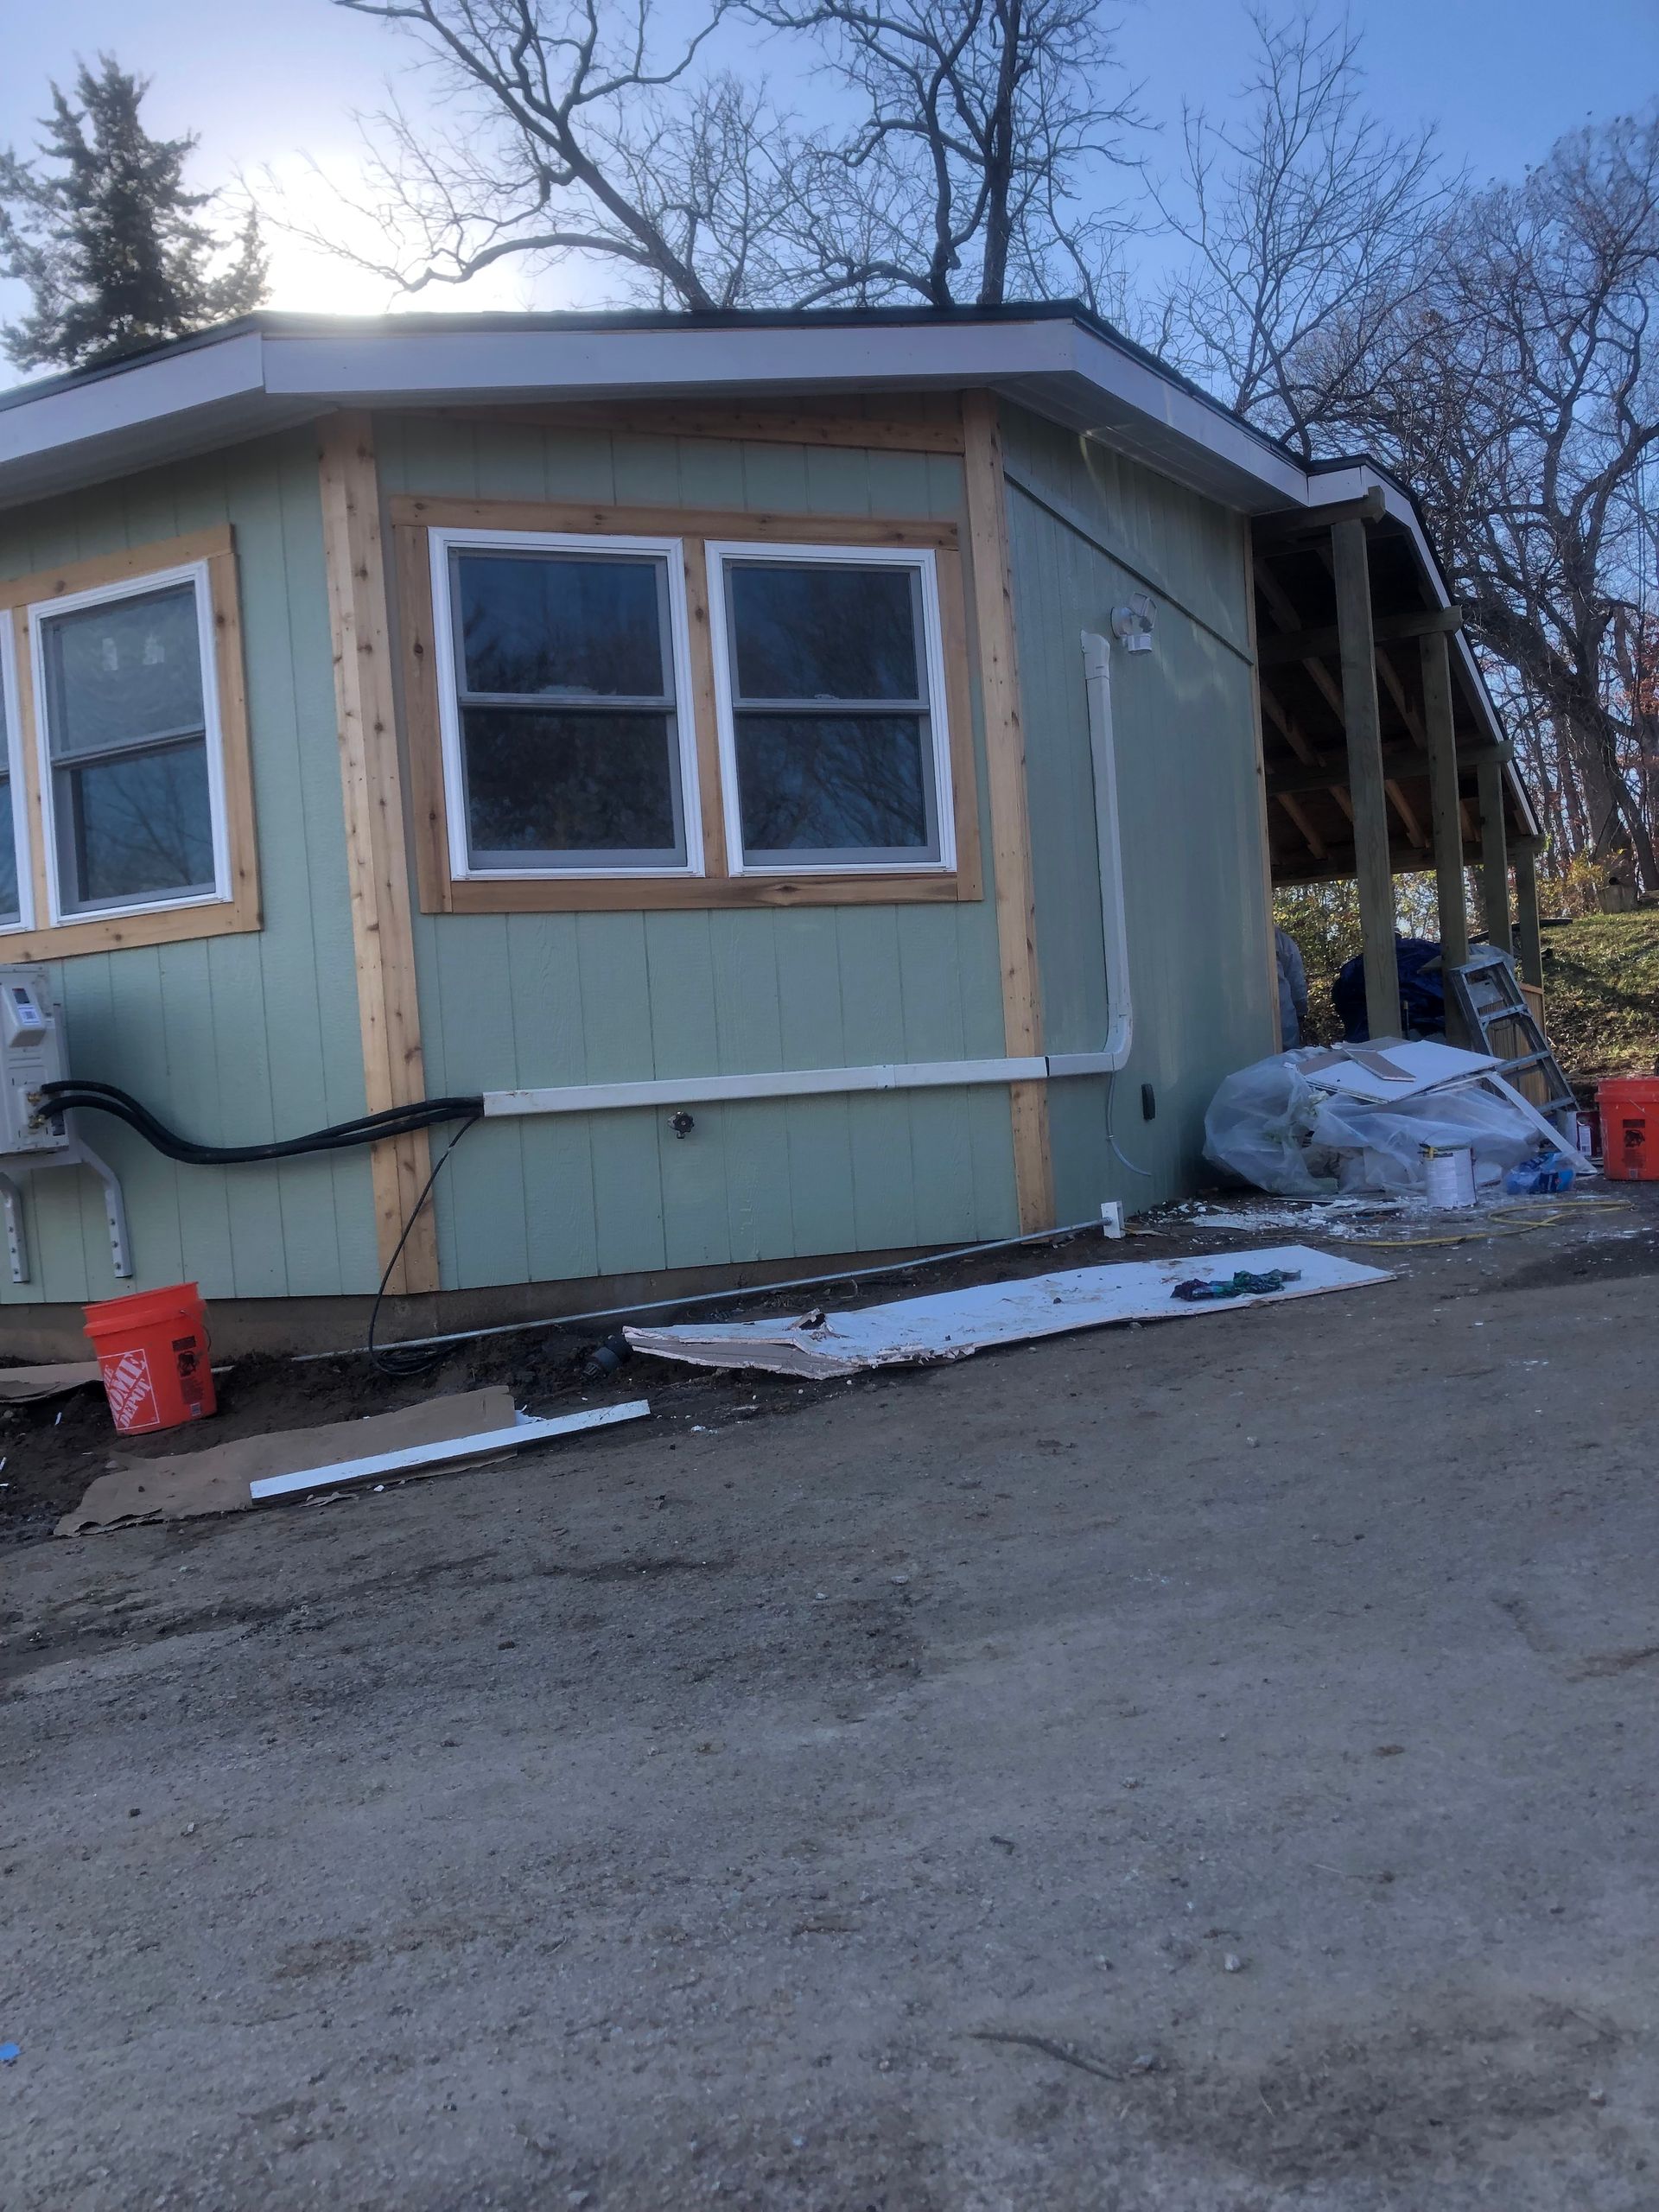
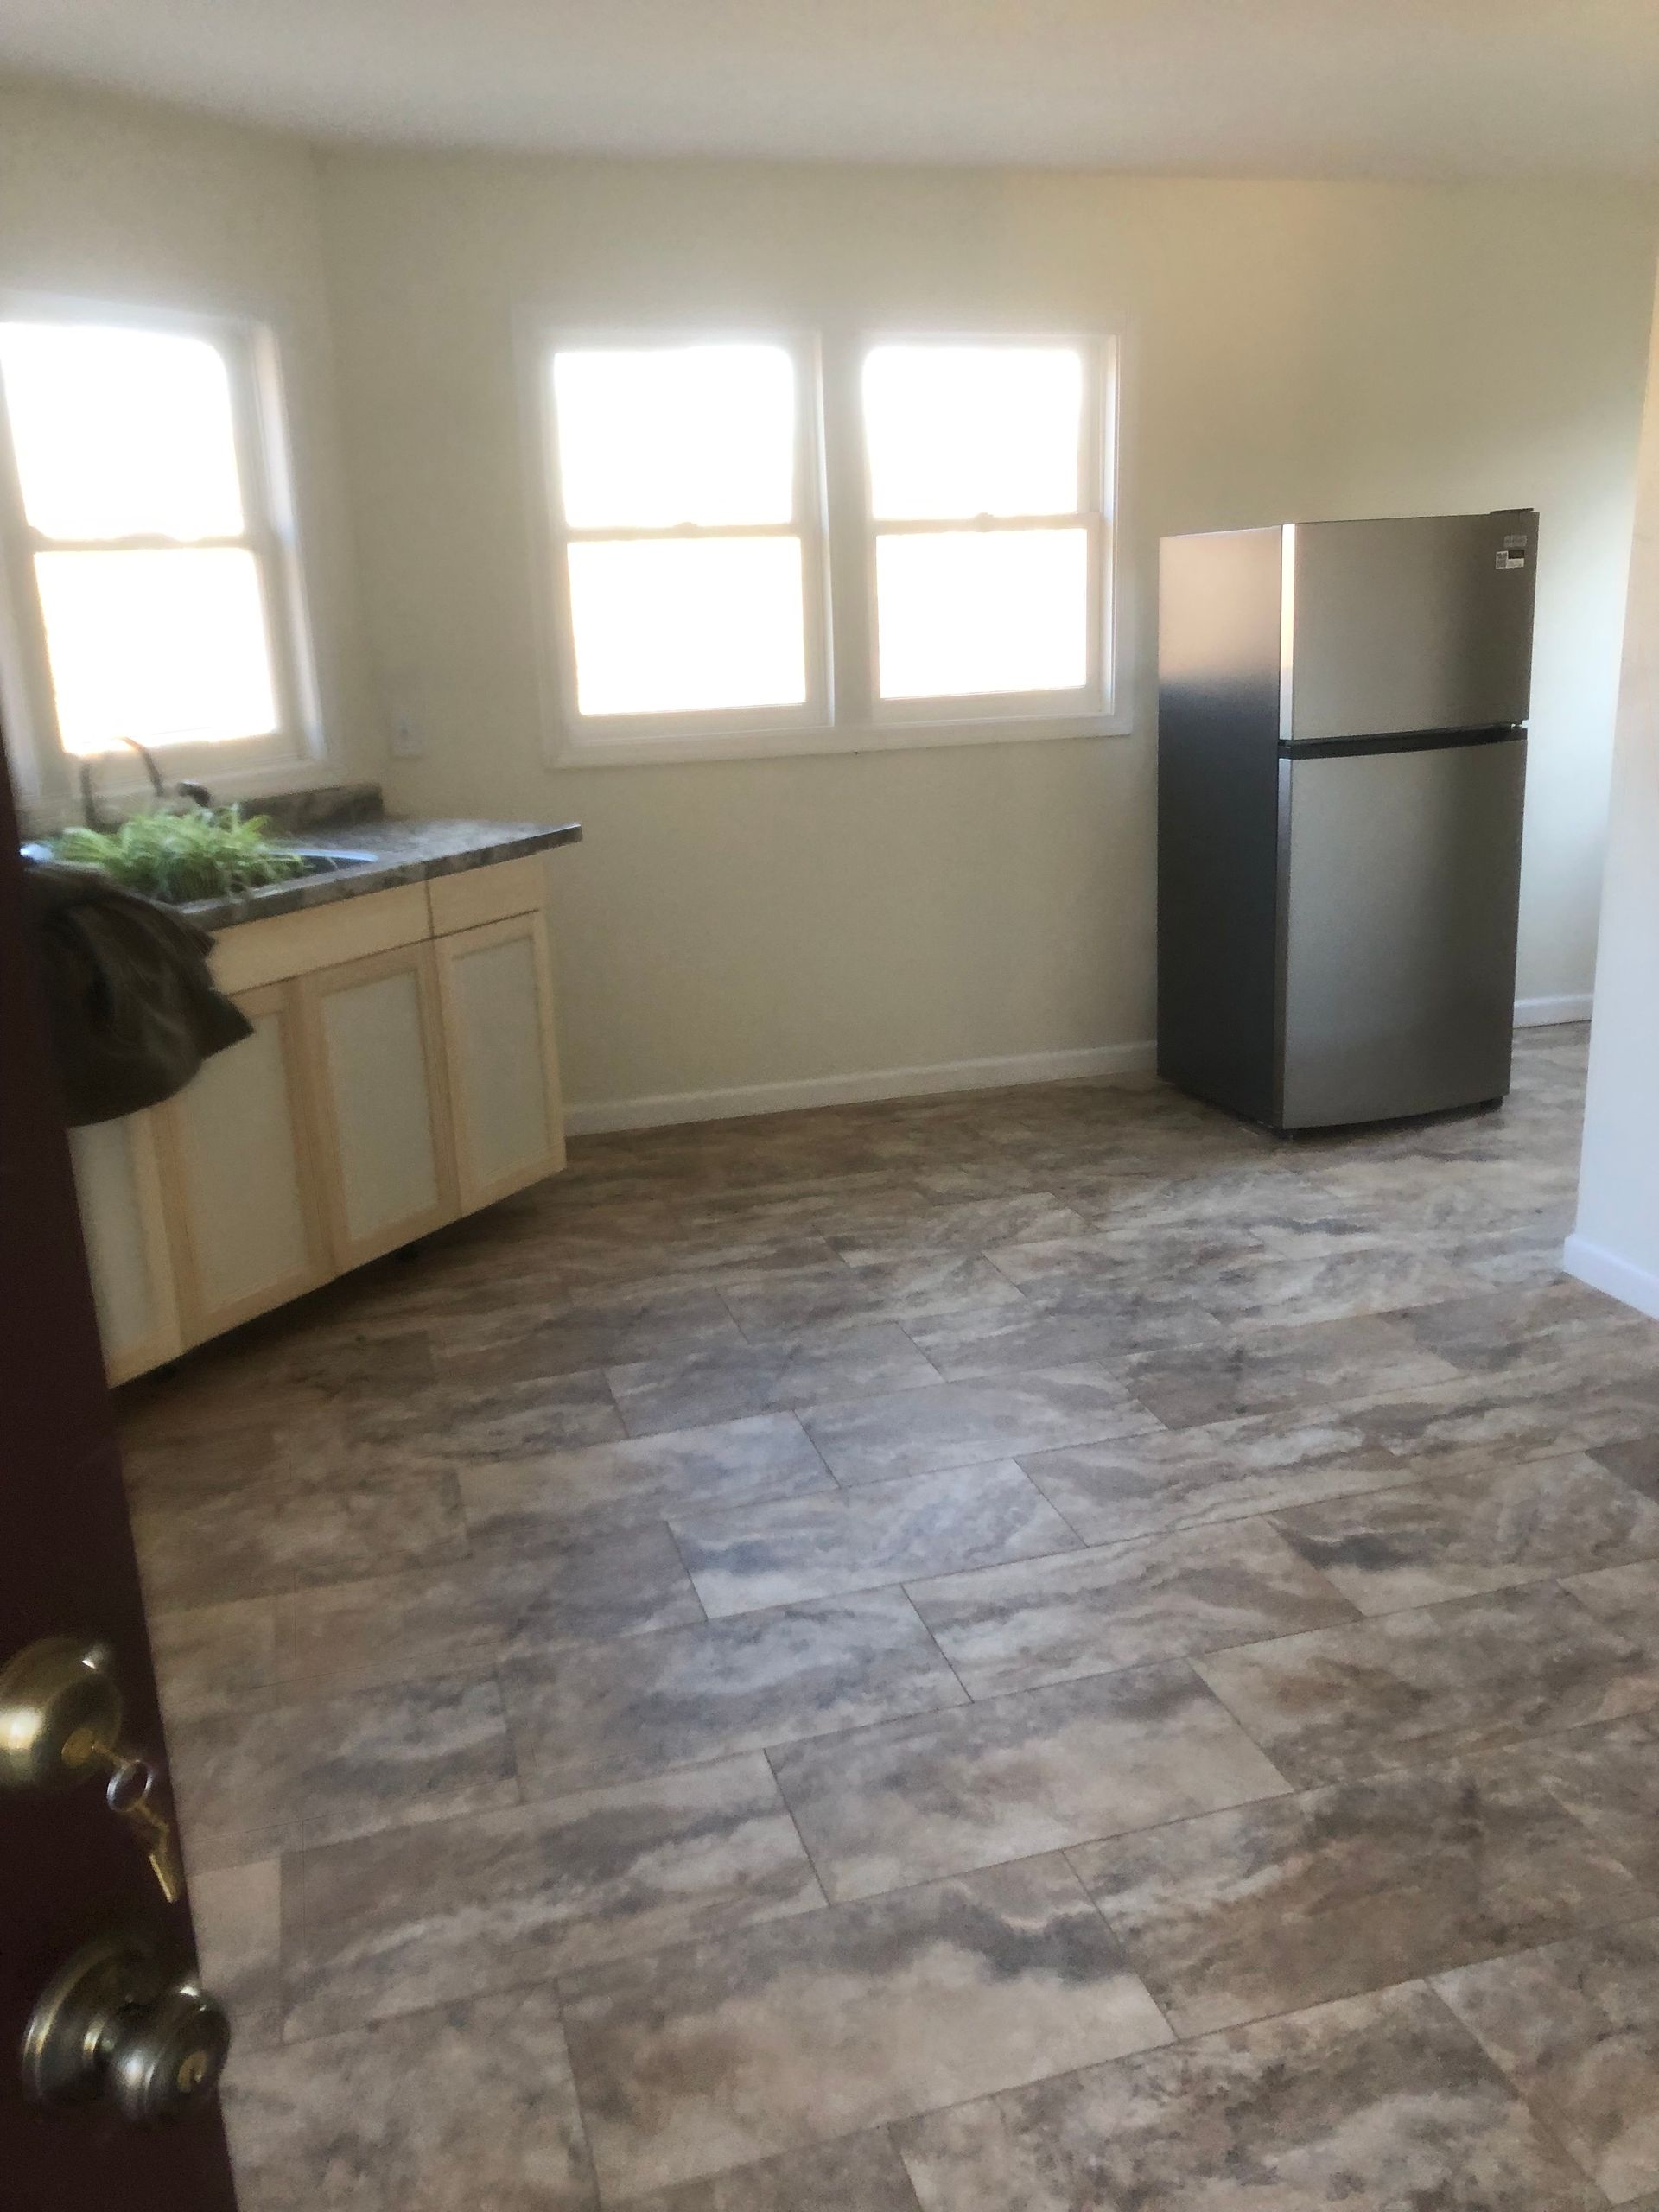
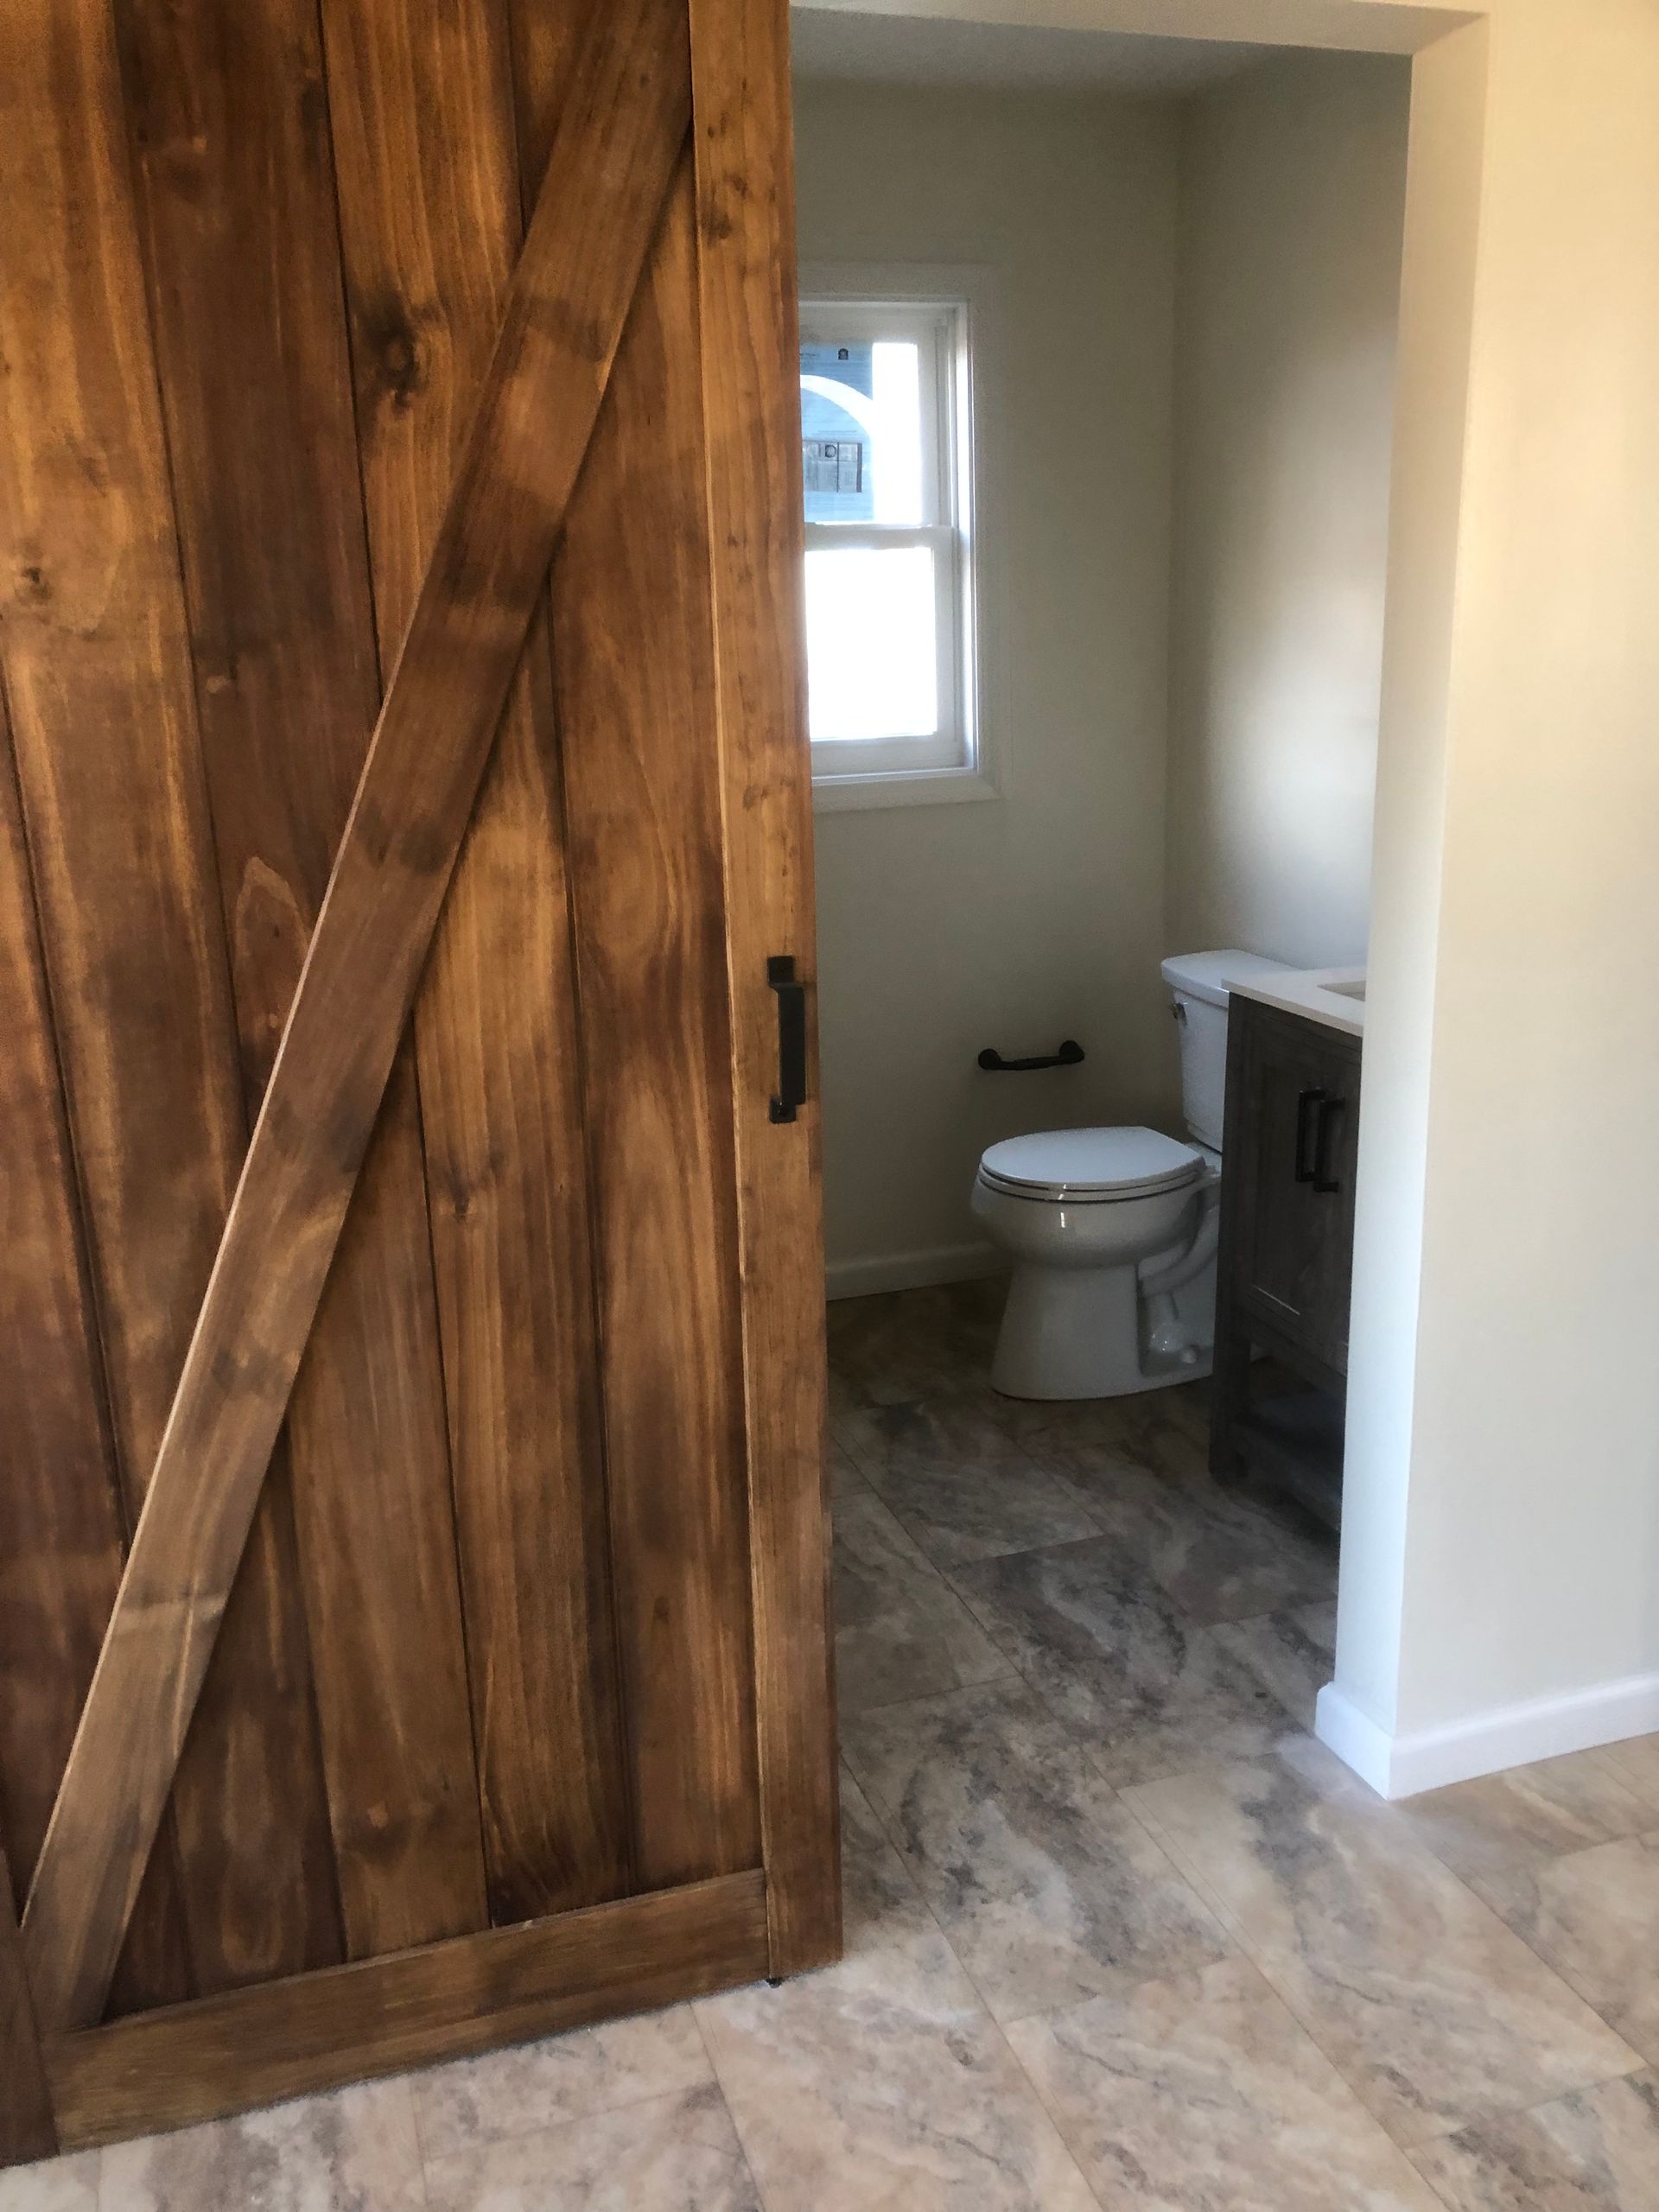
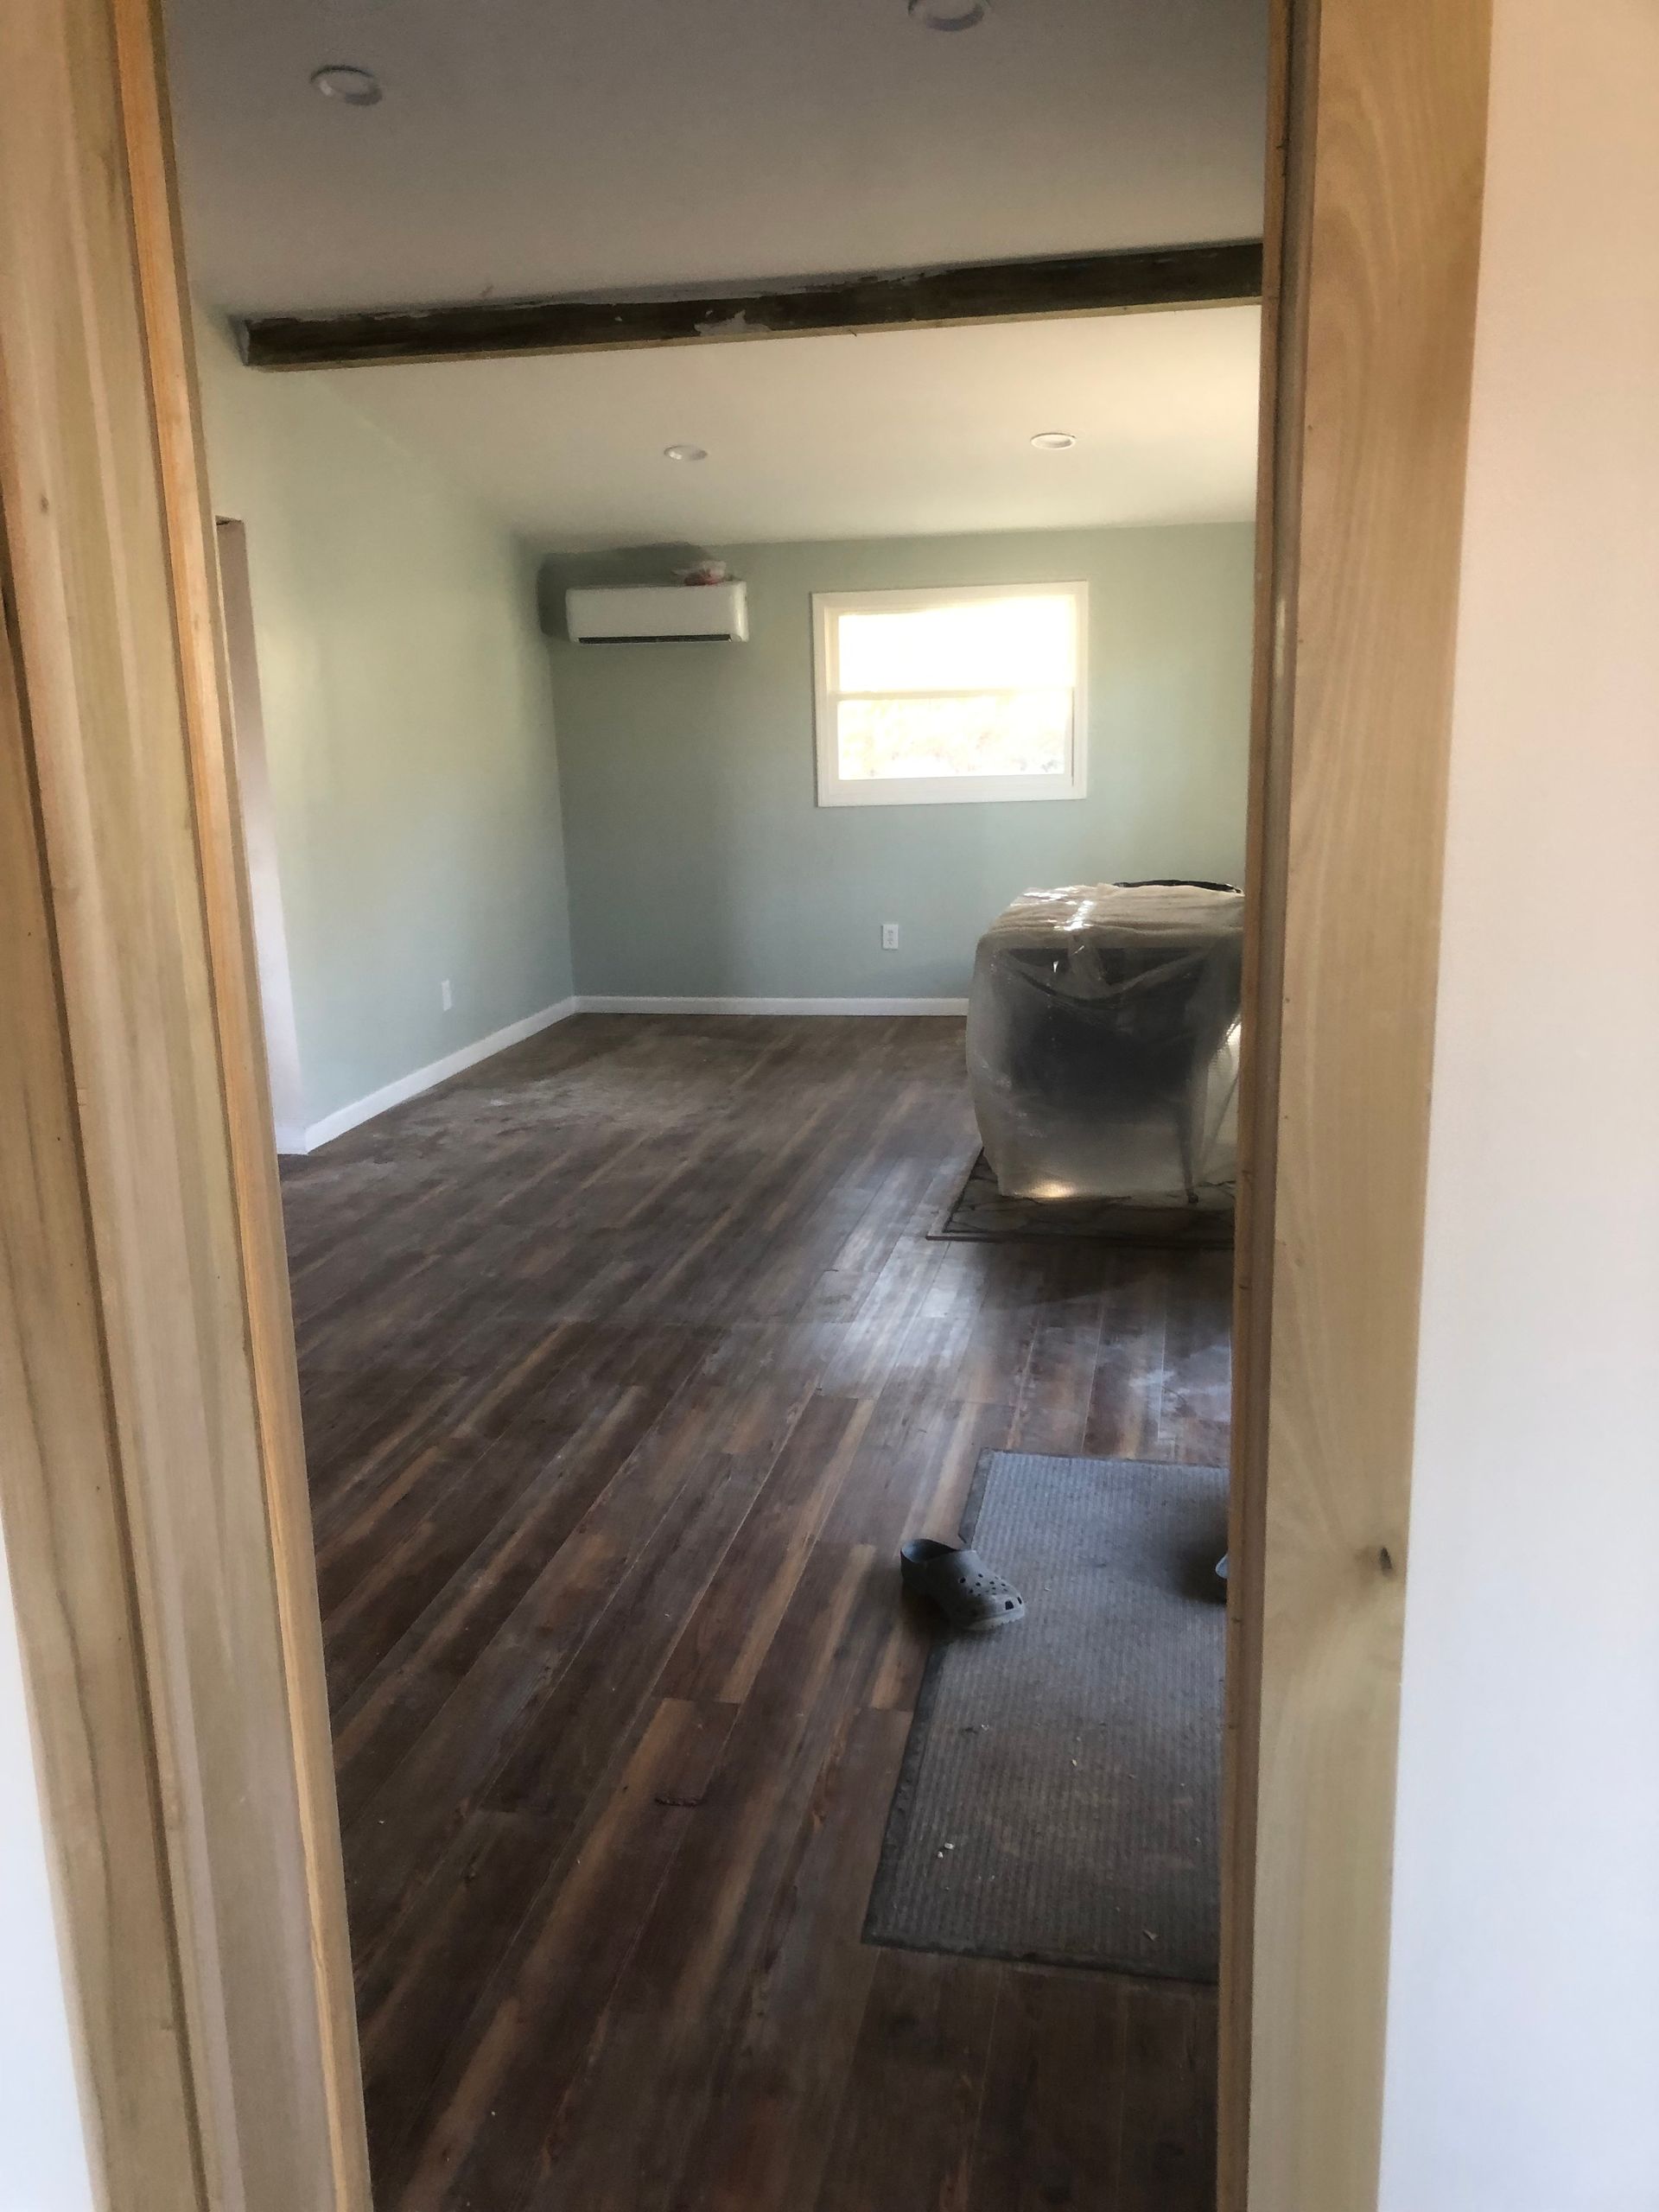
Our job was to add an addition where the carport was and extend the roof over the whole end and cover the deck/porch they had us add on.  The laundry room is really a second kitchen, but the area they take care of their pets.  We added a half bath and installed a barn door.  The livingroom got a vaulted ceiling with 6 x 6 beams.  Fall 2023


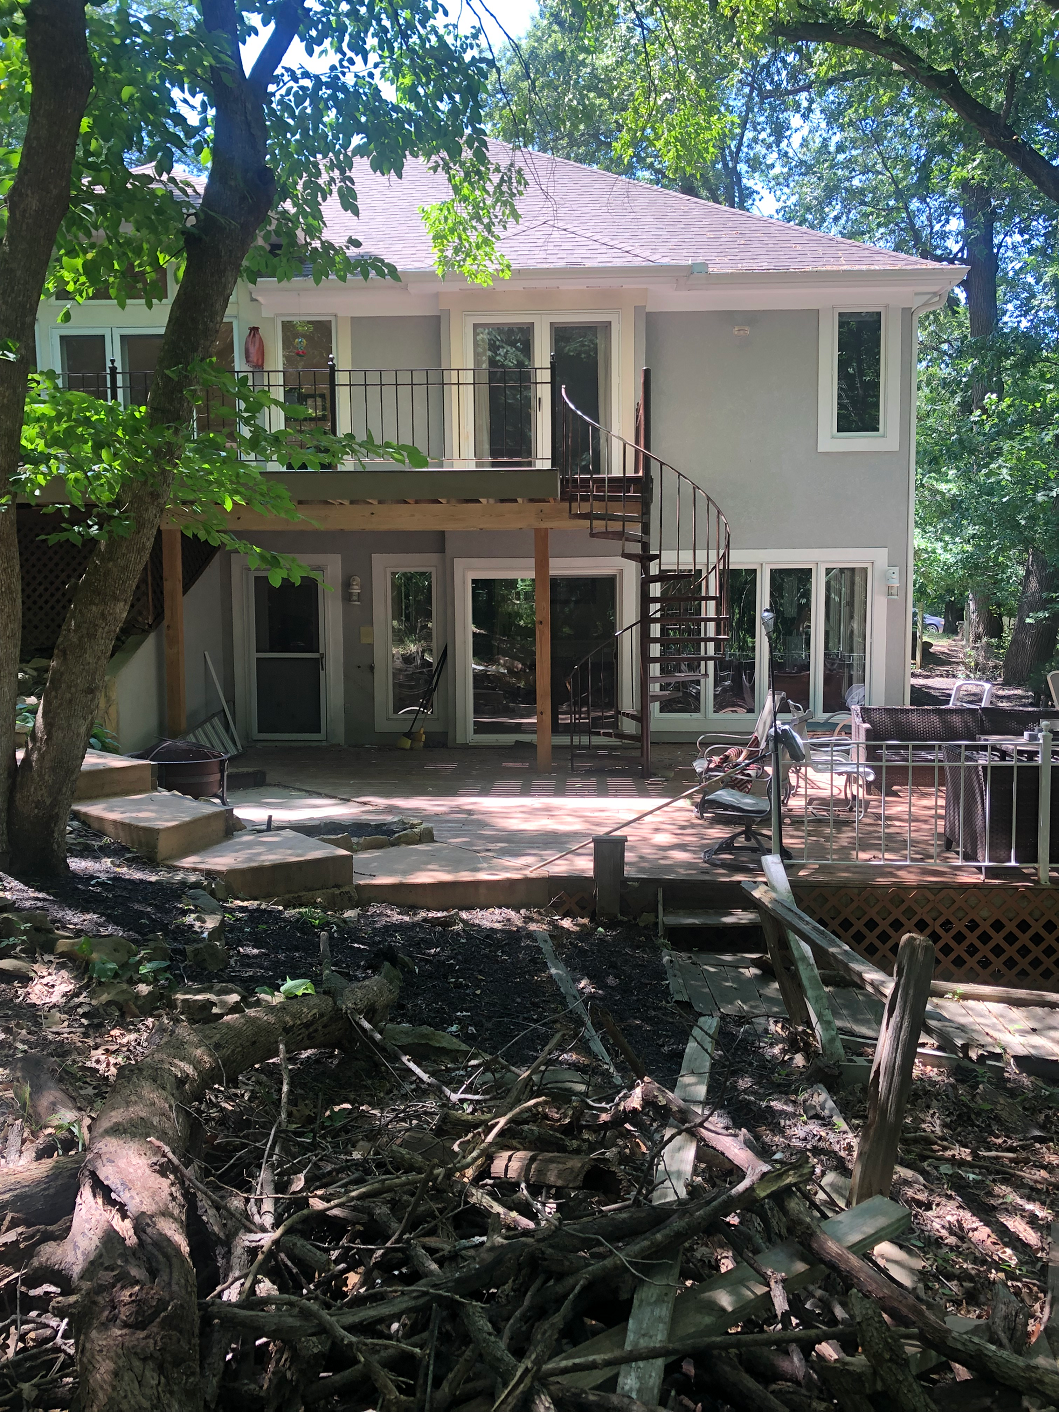
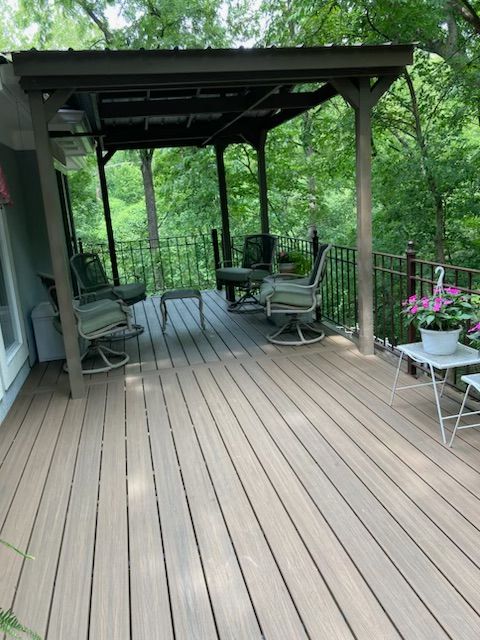
We converted a deck from rottimg wood to composite and added a cabana.


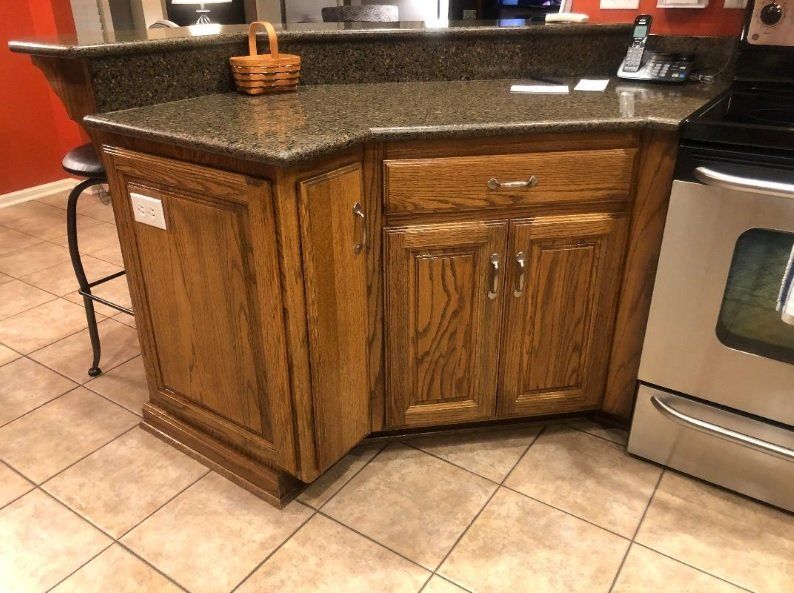
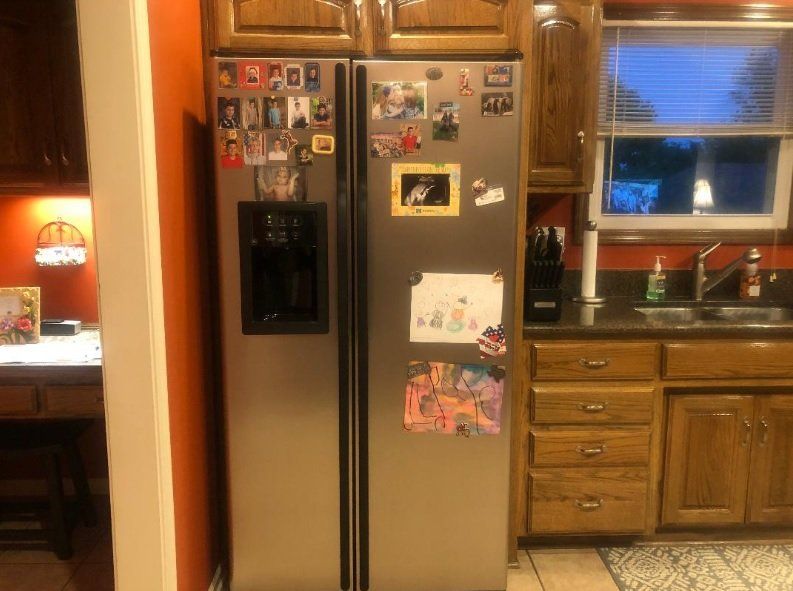
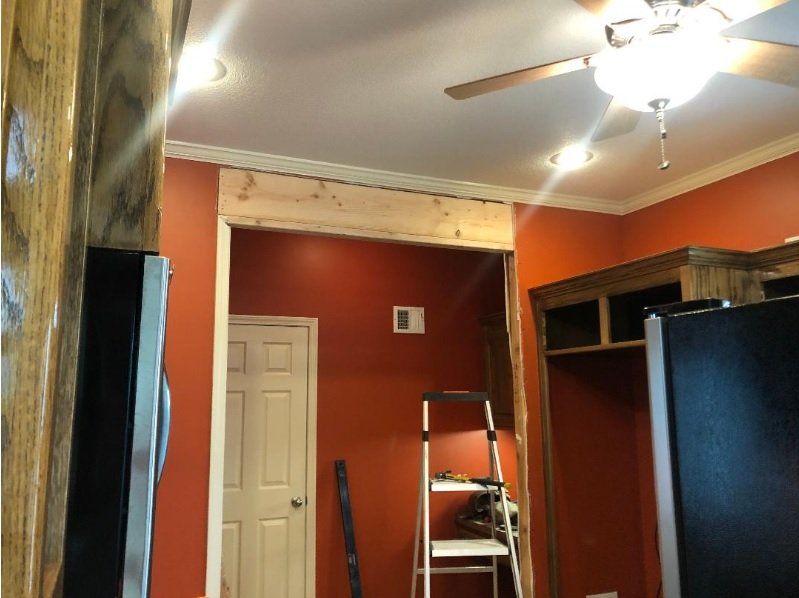
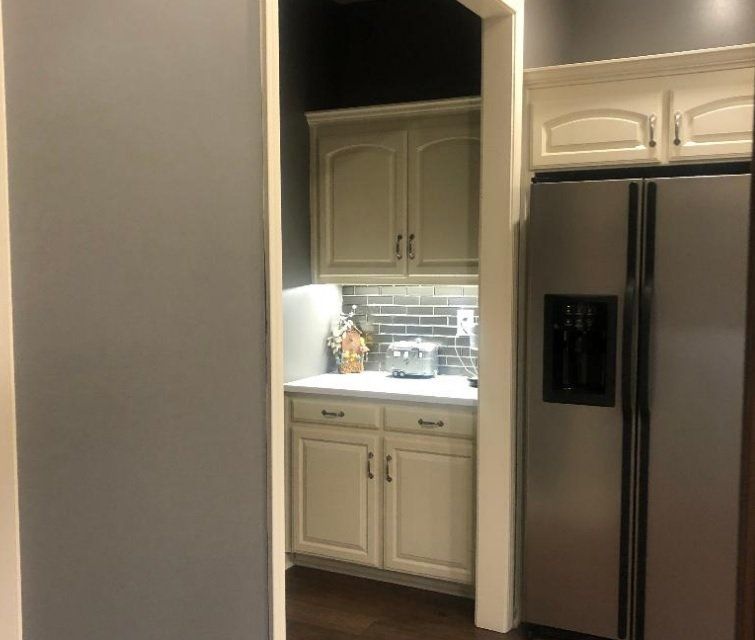
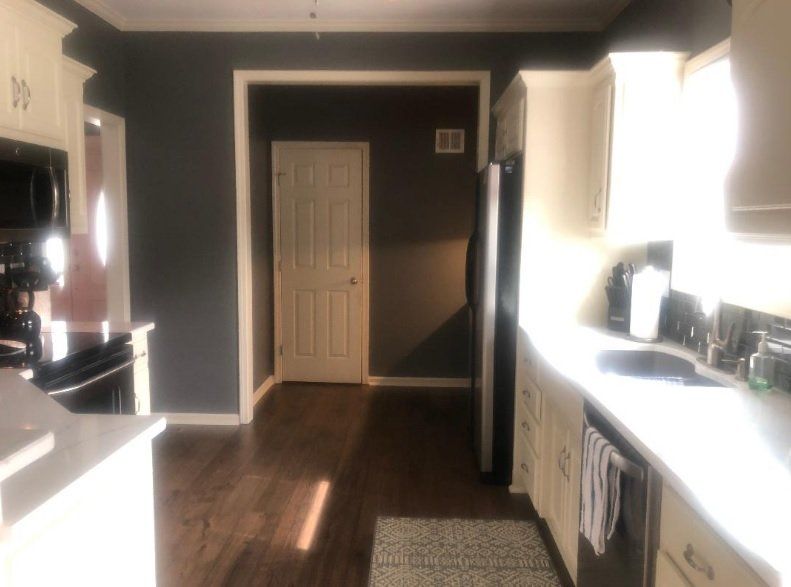
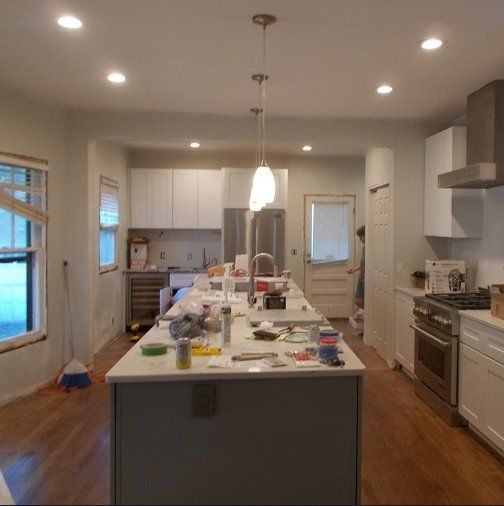
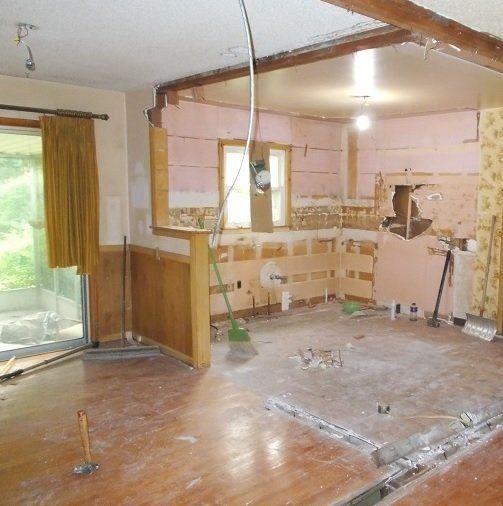
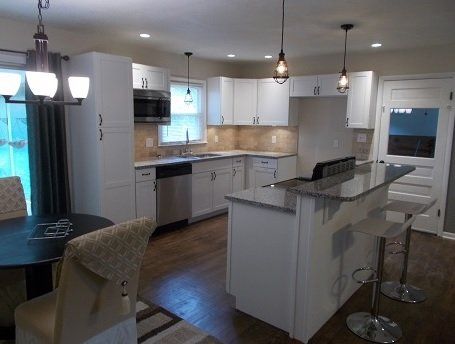
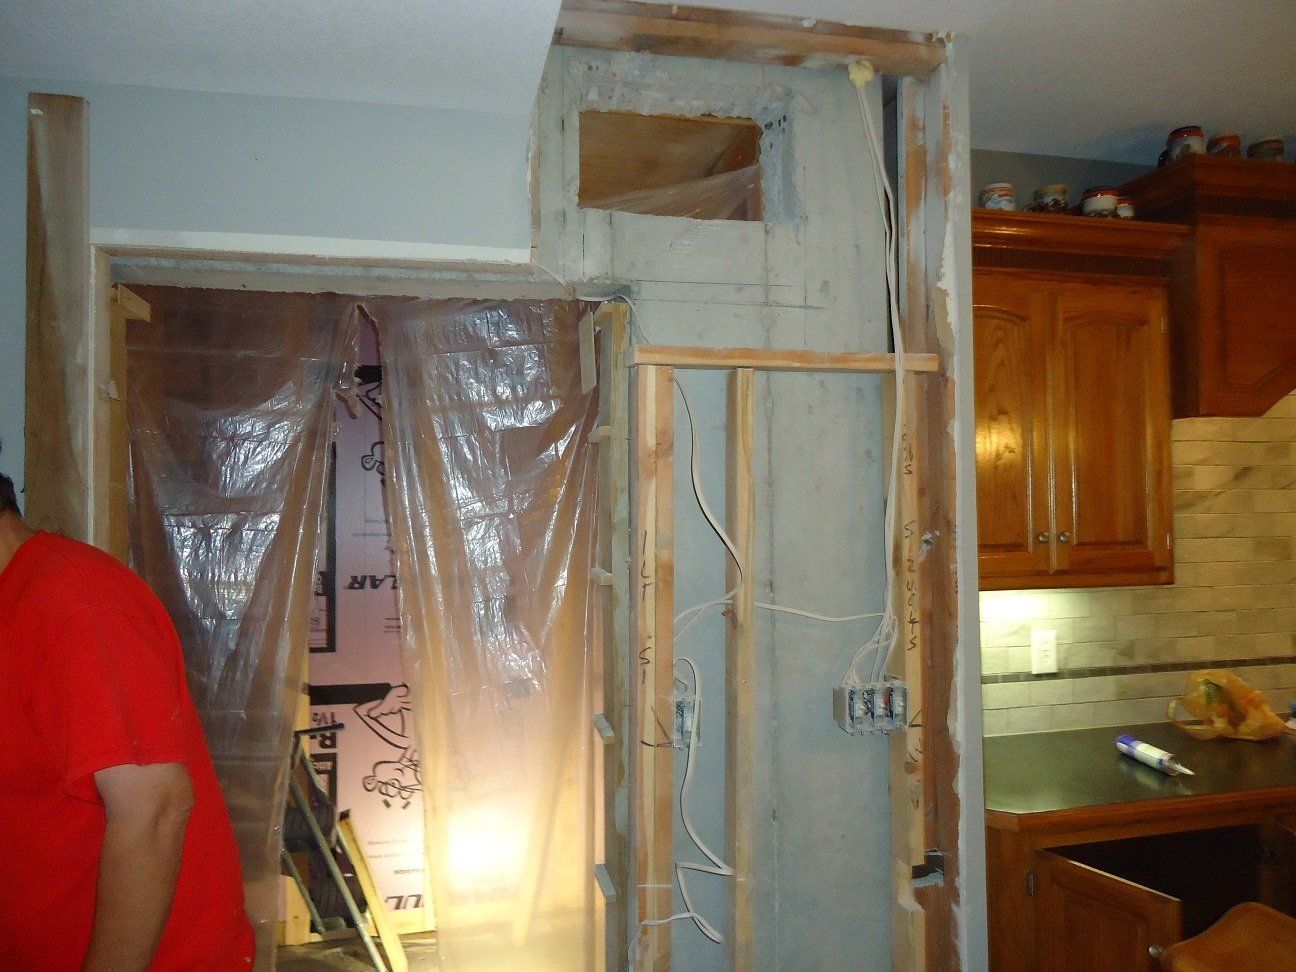
Major Kitchen Remodel, before and after, in Platte Woods


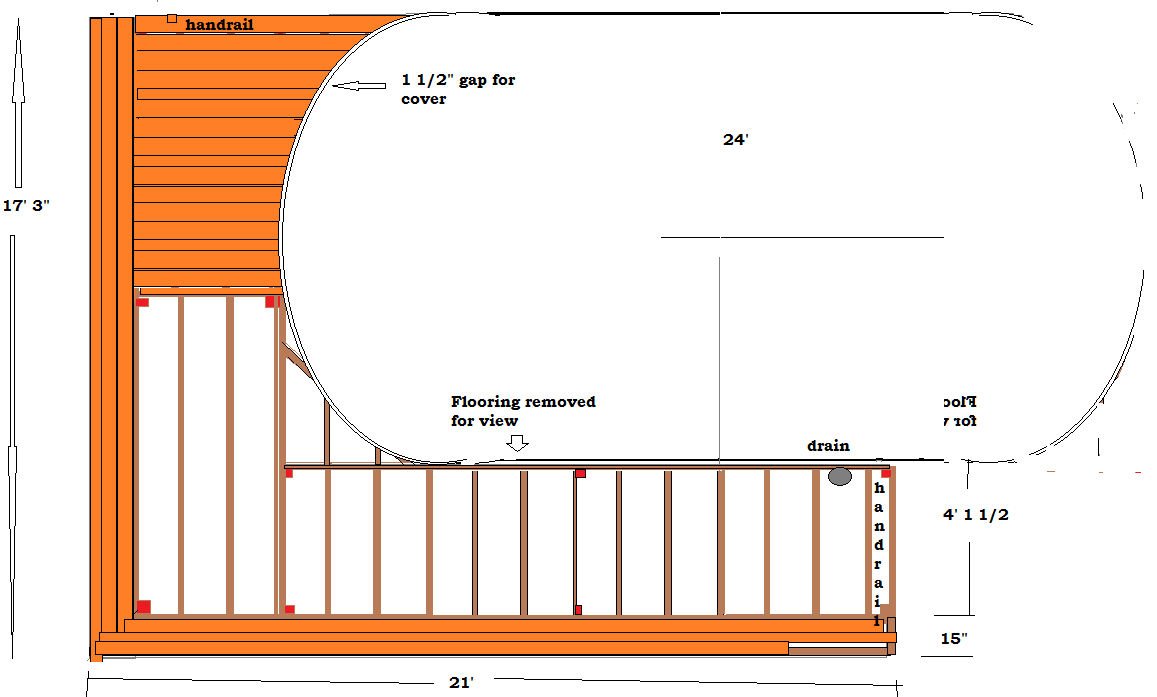
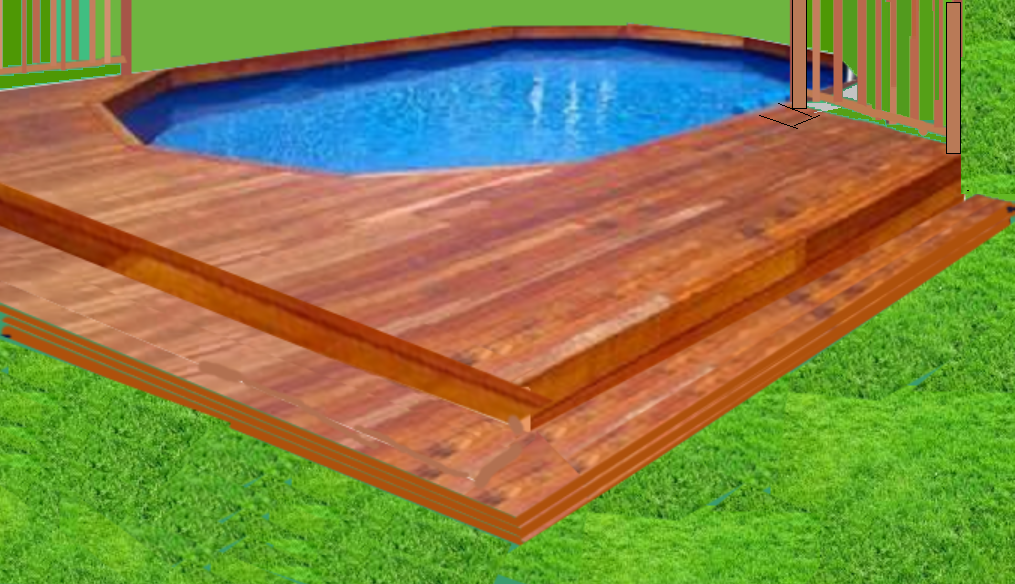
Drawings we made for a deck around a swimming pool for the disabled.


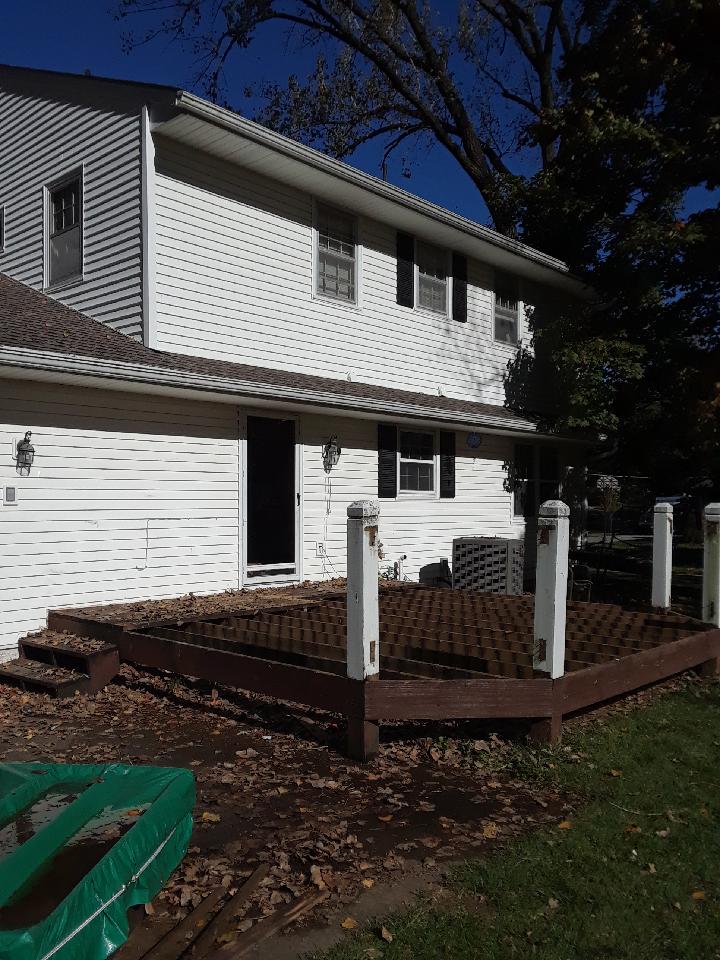
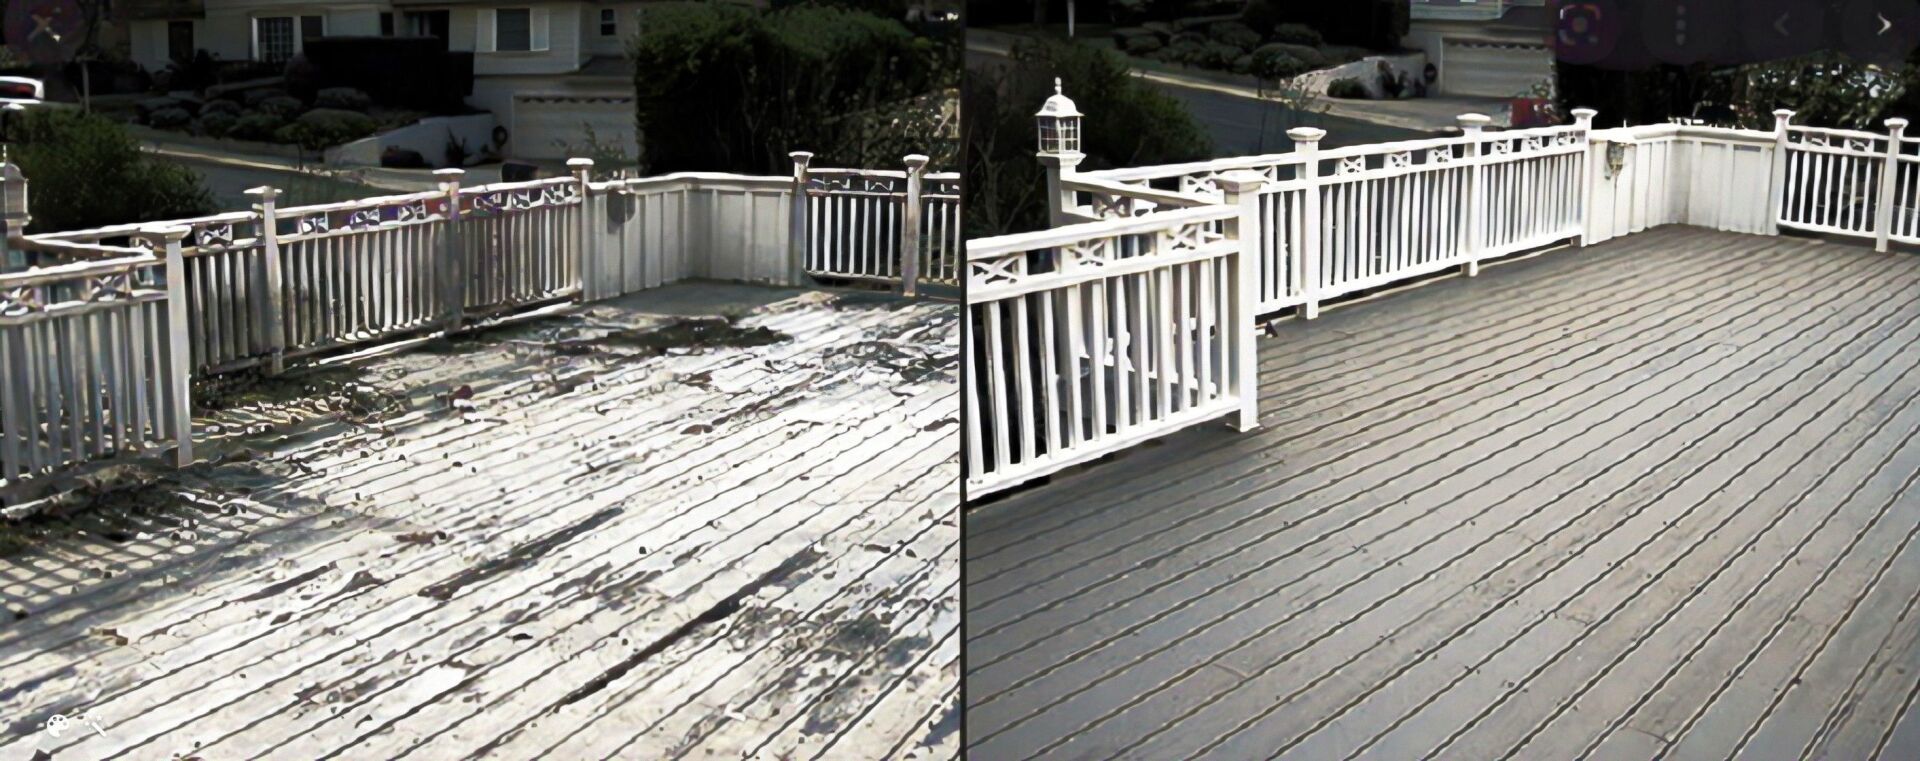
Bring that old deck back to life.

This one was a power wash on the raild and replaced the floor.


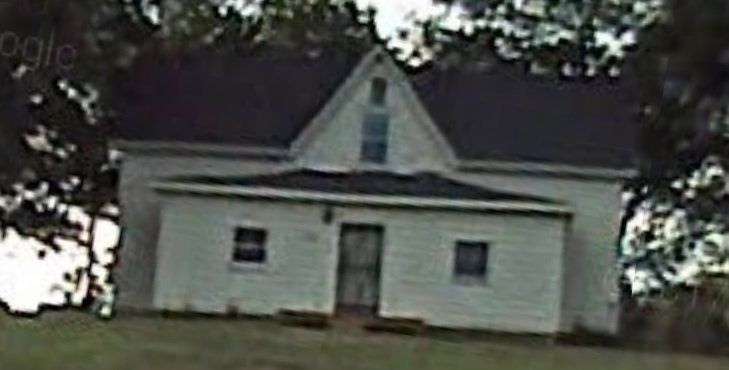
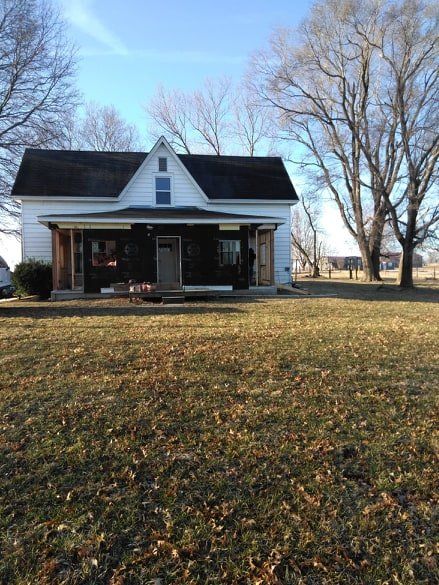
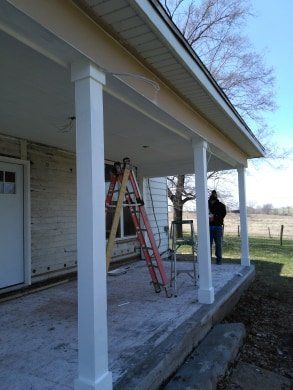
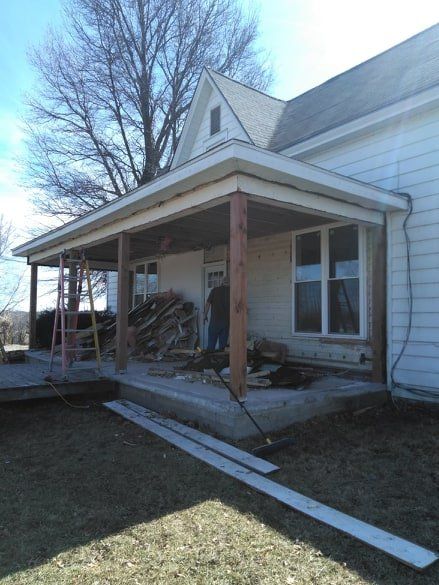
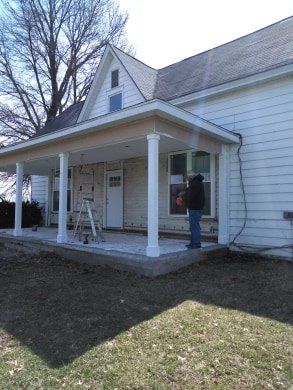
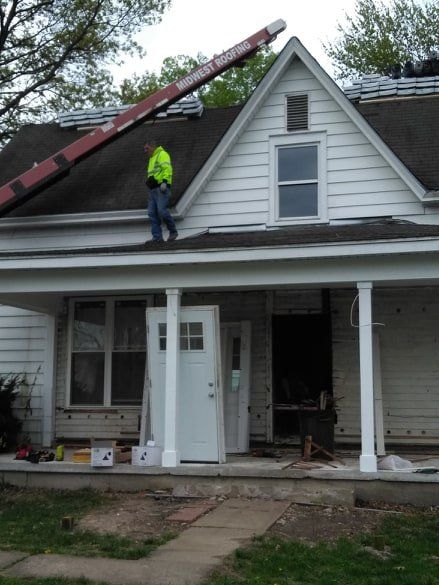
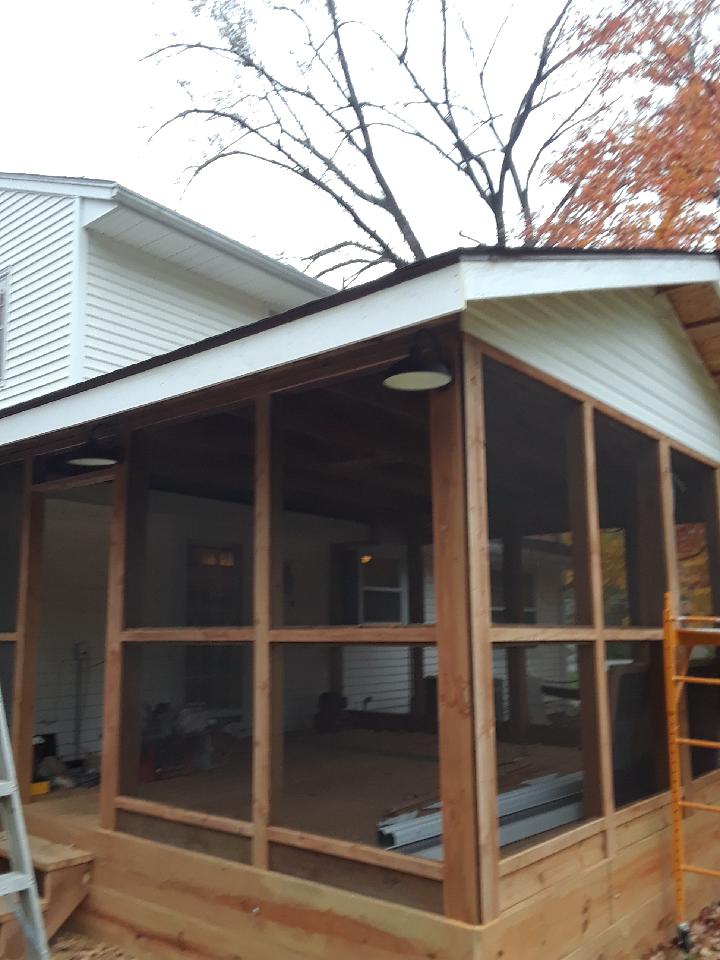
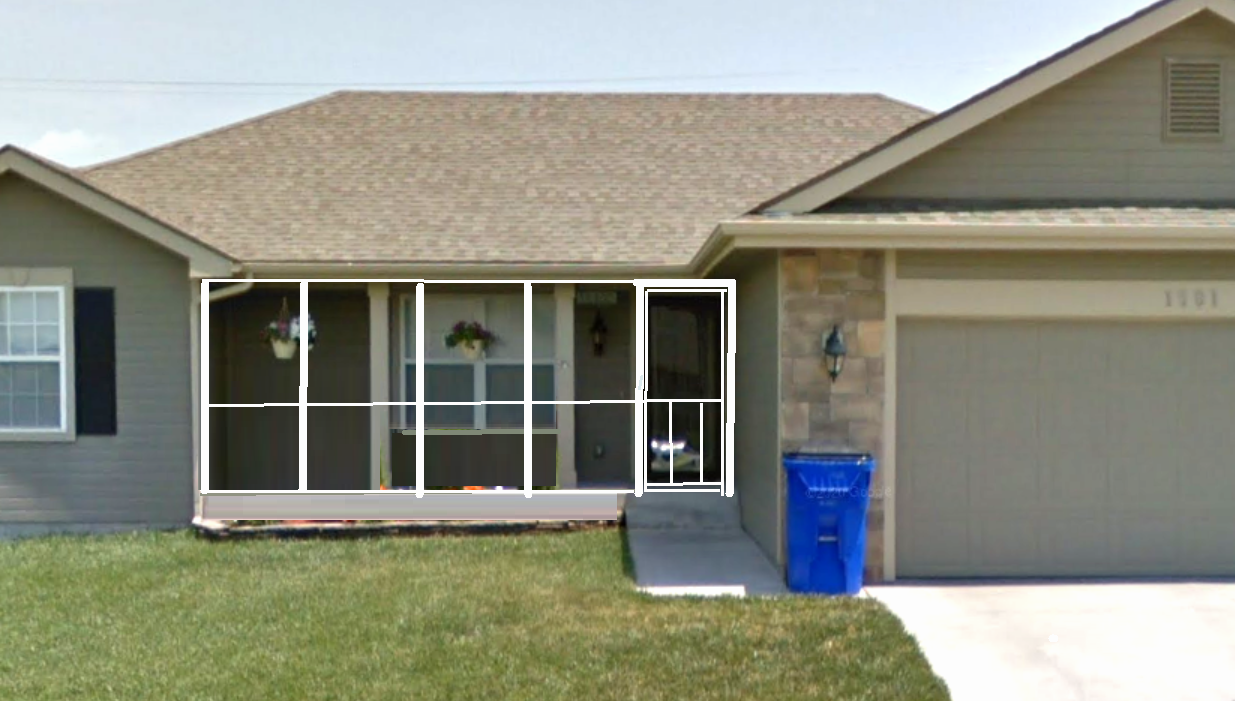
[Top photo] This couple wanted to enclose the front porch.  The second photo is my design.

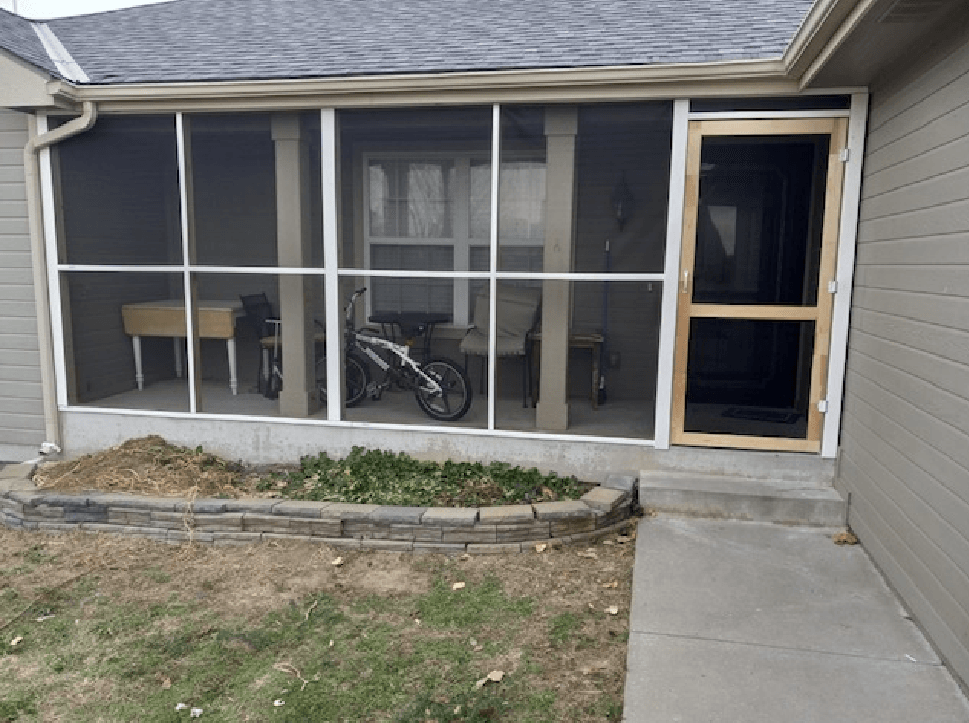
Actual photo of how it came out.


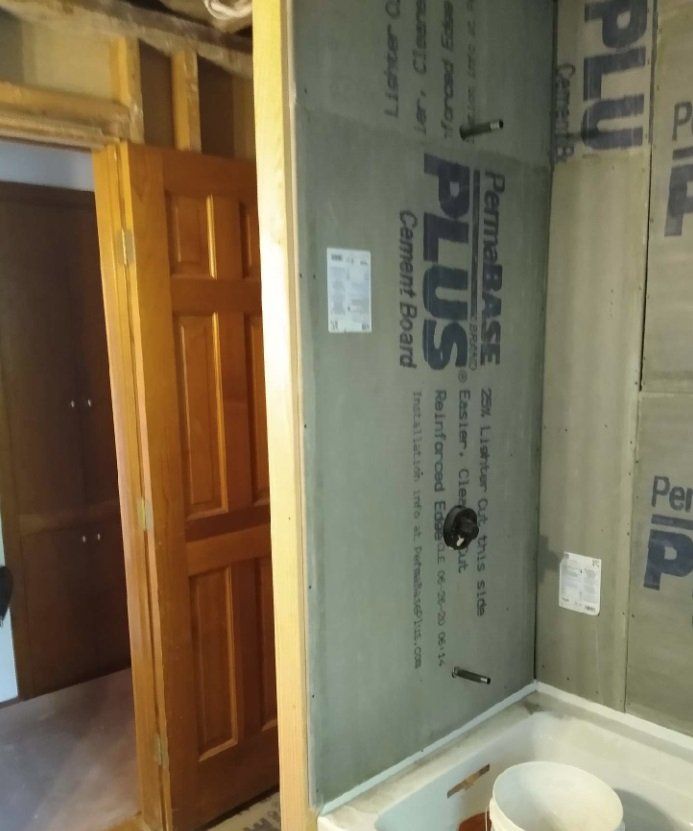
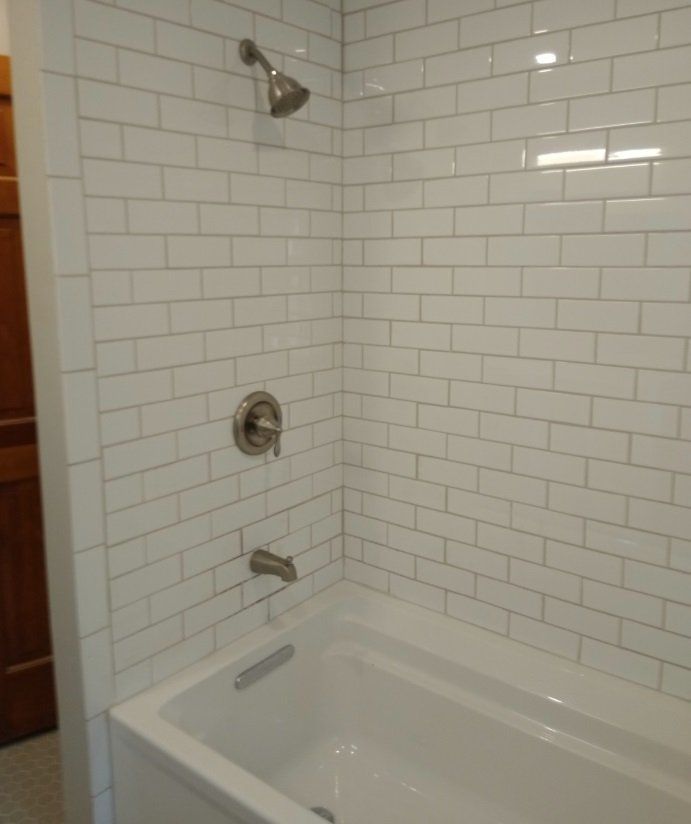
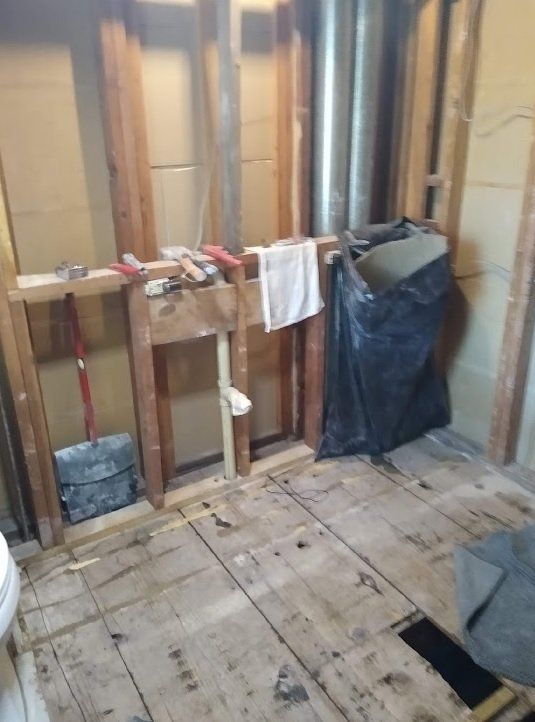
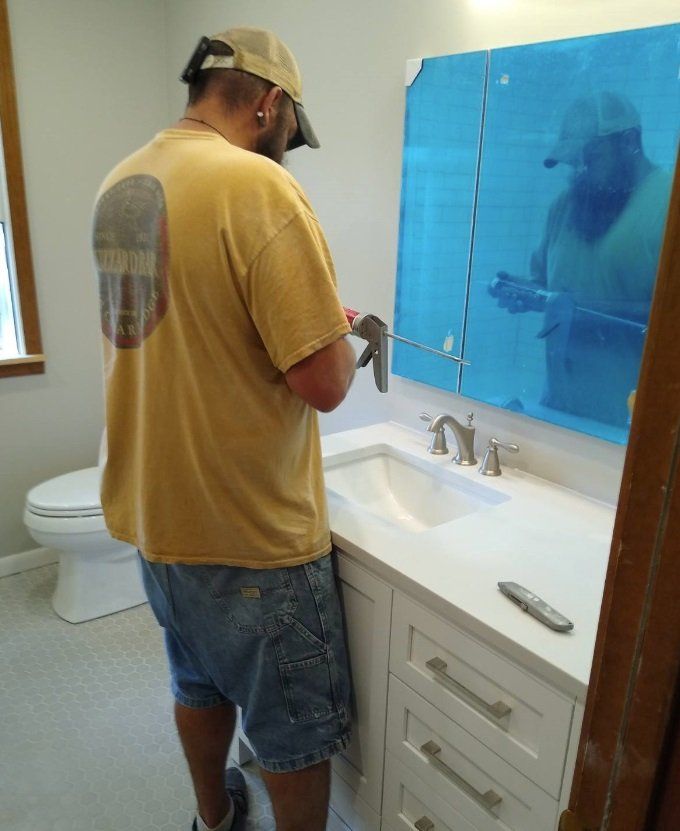
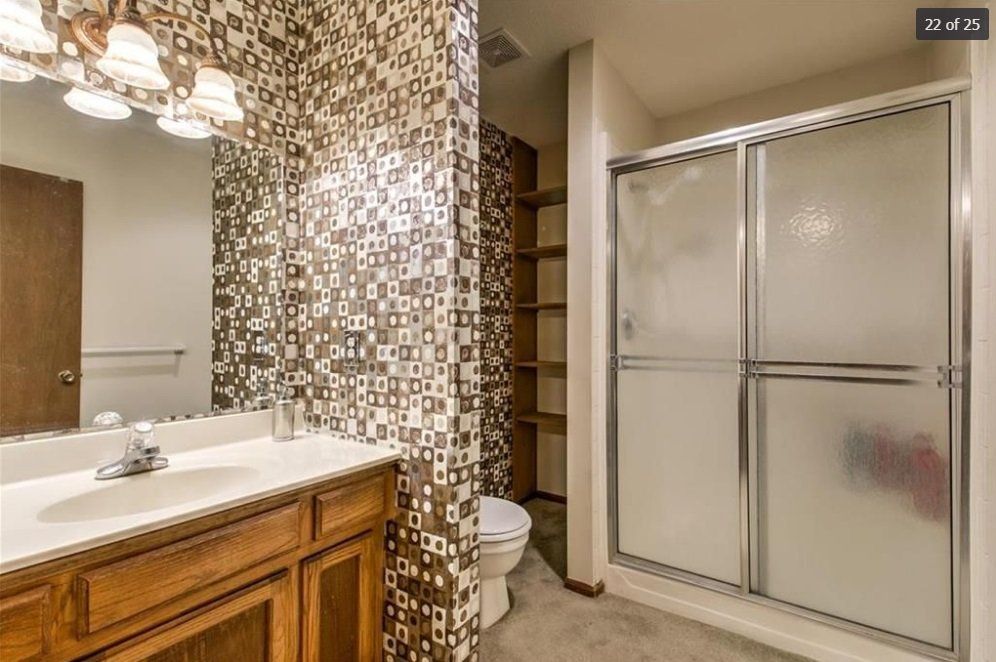
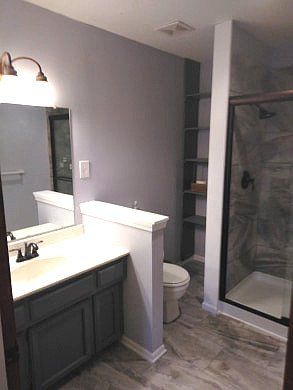
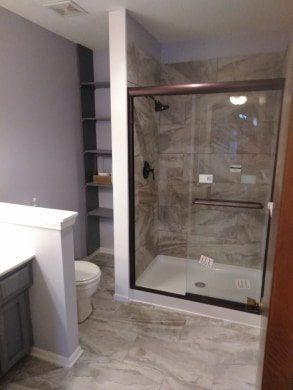
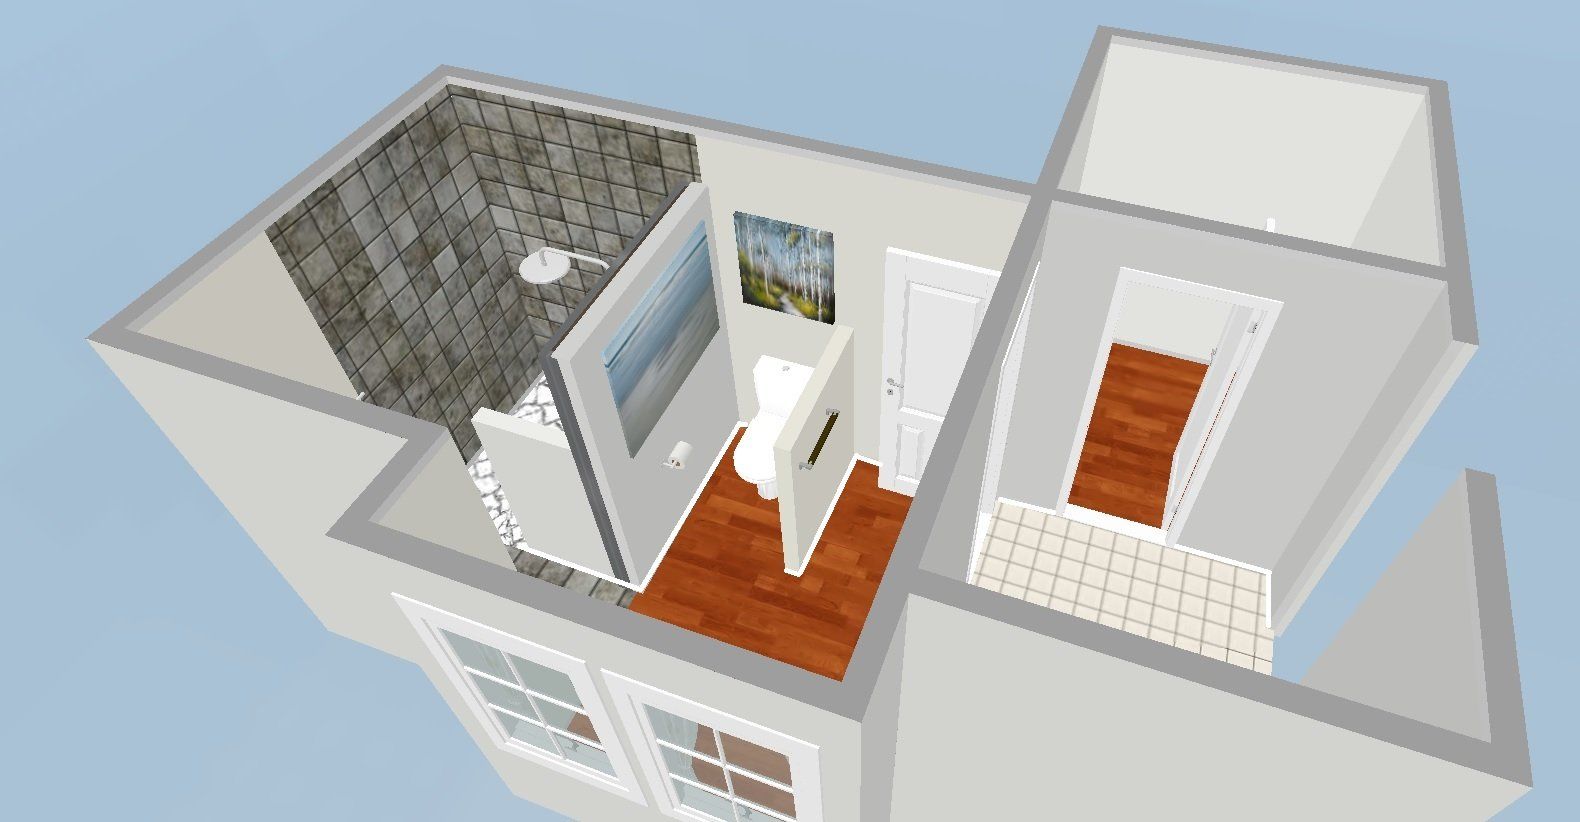
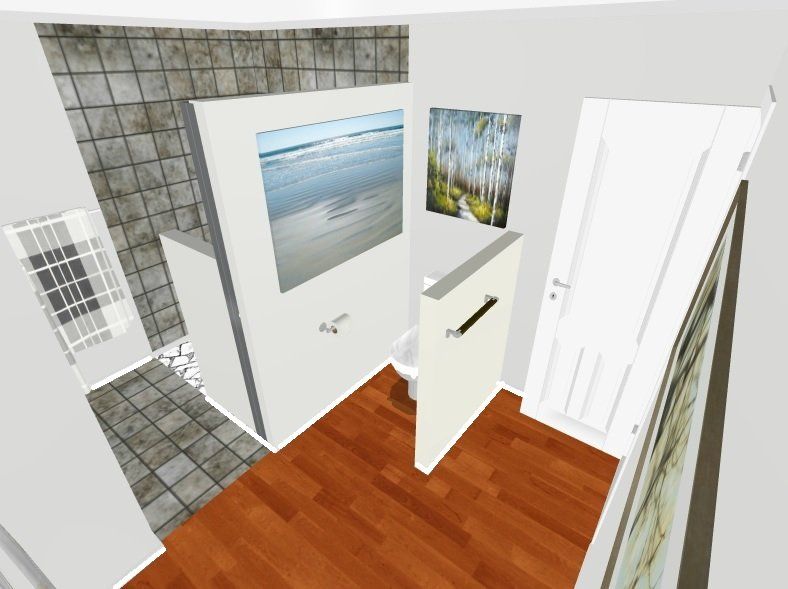
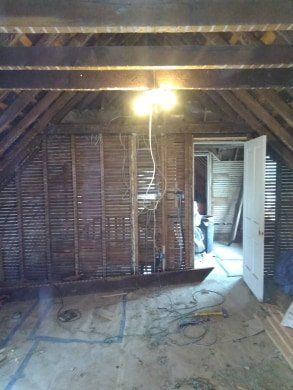
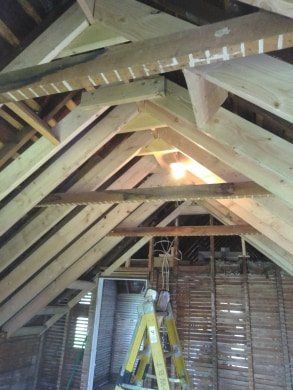
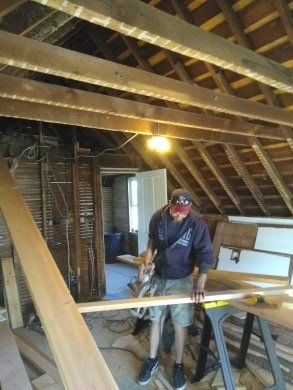
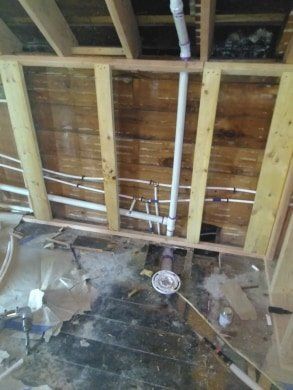
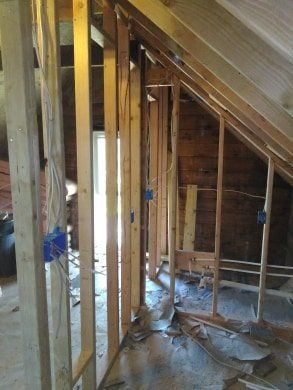
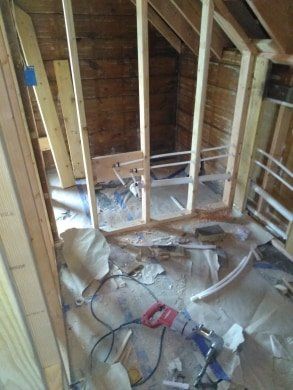
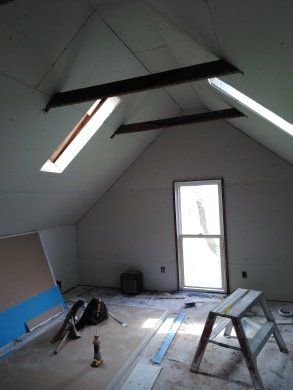
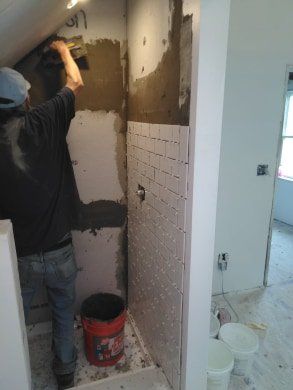
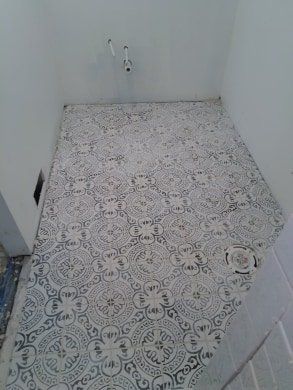
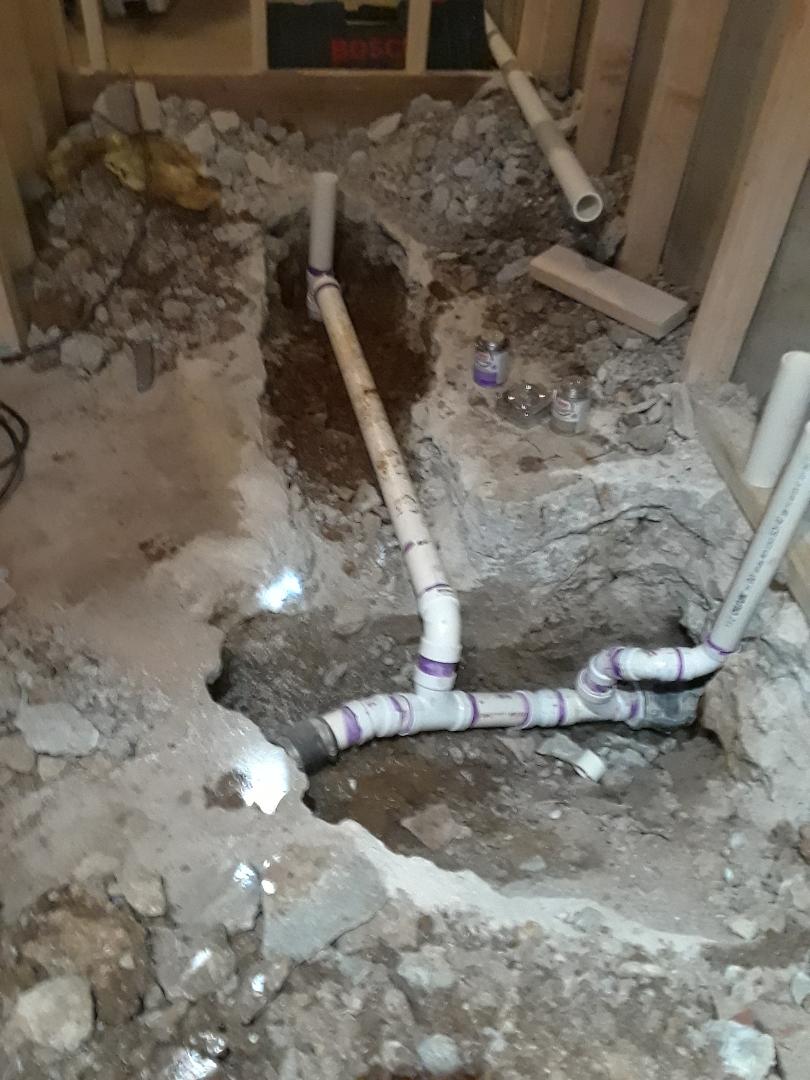
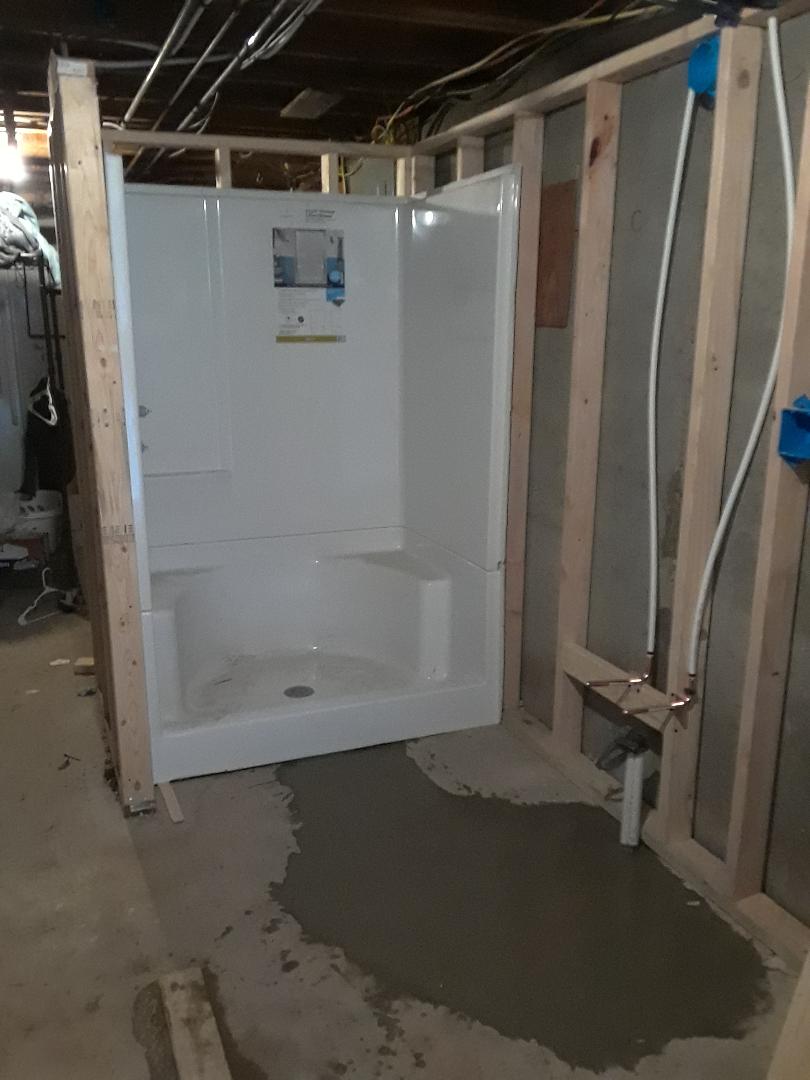
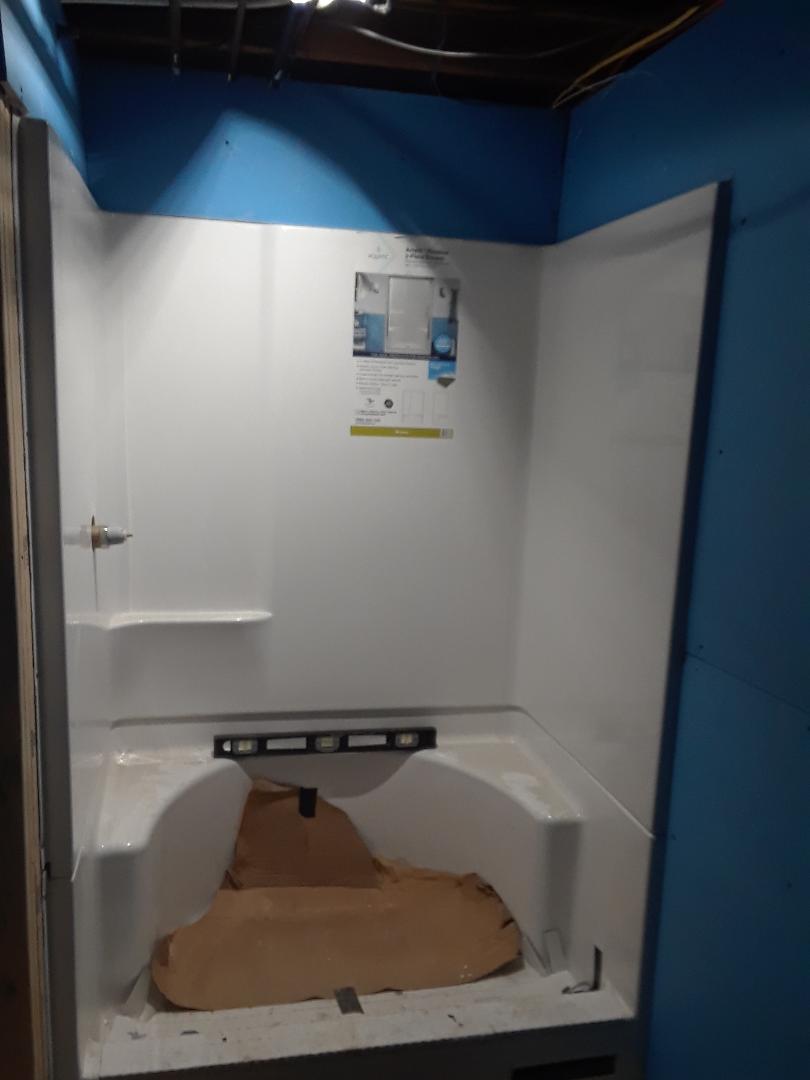
This homeowner had begun a full remodel of his bathroom when is work decided to transfer him to another state. He hired us as he was on a major time crunch and finished on time.

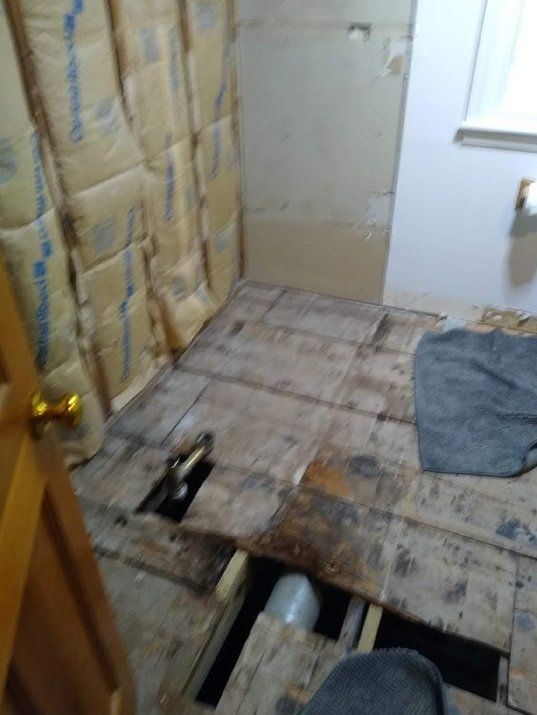
Some plumbing had to be moved because he wanted a 6 foot tub, instead of the traditional 5'. 


The issue was the freezer door would hit the wall when opened.  So, we opened up the wall so it clear.  Then we painted all the cabinets white and drawer sliders were installed in the bottoms of each one.  After that it got new granite, a new floor and paint job.

Turned a double car garage into a 450 square foot apartment that was complete with a kitchen and full laundry and full bath.

Bringing a basement bath up to date.

This customer has a master bath consisting of three rooms and where the center one has a Juzzi style old tub they've never used.  These 3-D drawings are based on what they told me they wanted.   I made these before they have told me the choice of wall color, floors and tiles.  I drew these as examples of how the walls have to be moved.

Fall, 2019

Customer has a town home and has new girlfriend who is moving in and they wanted a new deck and it had to be made so her dogs could get to the back yard.   We also took out a window and installed a patio door that's now in this photo yet. 
I have him this plan I drew on my computer because he wanted it to look like his neighbors.  He later said he wanted the 2 x 2 spindles instead of the cheap lattice look and otherwise it  came out as promised/planned.

July- August, 2019
An elderly lady had gotten a warning from the city of Kansas City about her car port, wood rot and the house needing painting.  A friend referred us to her and now she not only has the newest windows on the block, but also the newest painted house.   The "before" photo is actually from a Google Map street view from an earlier time.  The photo below is how it looked when we started. 

This is a farm house near Smithville that was built in the late 20's or early 30's and was recently bought by a young couple where they did most of the renovations themselves.  

An older neighbor told them the front porch used to be open and they liked that idea and hired us to open it back up and what a difference!!

The first before photo was Google Map street photo from 2011.
Next was to start putting it back together and waiting on delivery of the new front door. 
SPRING 2019 

Here's the before and after where the intent was to restore the home to about the way it might have looked when built.  Skylights were also added.

Photo above is the new front door installed.
At this same house, the owner decided to completely remodel the upstairs which meant removing all the old plaster and lathe and he wanted to add a master bathroom. 

He then also decided he wanted the ceilings vaulted as much as possible. 
Kids room above and below. 
Upper photo is looking towards the master and below is demo of the upstairs landing walls, etc. 
Master bedroom looking through the landing/hall towards the kids room.  The master bath will be on the far left. 
Early on we sistered new rafters to the old 2x4 rafters for extra support and to raise ceiling to become more of a vaulted ceiling.  It would also allow better R value insulation. 
Bath plumbing all in and electrical and ready for insulation, then drywall. 
Insulation is going in and next is drywall. 


On the right is the girls bedroom. 
Girls room on right with the drywall done and a coat of primer. 


The owner's wanted a skylight like the bedrooms in the bathroom, but there just wasn't enough room.  We compromised using a sun tunnel (left photo).
Master bedroom. 
Master Bedroom drywall done with a coat of primer.  Master bath is to the left in the right photo and tile going in there on the left photo. 
Bathroom floor tile on the left from Home Depot. 
During the front porch demo, the owner's decided on a new door with  more windows and they wanted the old door put on their back mud room (which will soon become a laundry room).  That wall only had about a 72" clearance and we would need to raise it up over the door way. 
We needed to remove the window upstairs to get the drywall inside and at the same time, the roofers were there doing their work. 


Right photo, the dormer is done. 

 Installing a bathroom in a basement.

The homeowner had hoped we could use the storm drain and we found it was plugged.  So, we dug up the floor and installed the correct plumbing.  This bathroom will have a flush up toilet that will pump into the sewer drain which is about 4 feet off the floor. 
The shower is a two piece model from Home Depot so we could get through the door and was extremely reasonable at $475, with seats!.  Then the drywall went on and next was tape and mud.  All we were hired to to is what you see and the home owner finished the project on their own. 

Before and after photos of a screened in porch. 

Before and after photos of a basement remodel. 

Left is before where we took out the middle wall and made the entire space one large kitchen. The right photo is where our part was done and the home owner took over. 

Before and after photos of a basement remodel.

Building a wine cellar under a flight of steps that could hold 770 bottles of wine.  The room has it' own HVC system.

This is an actual before and after photo of an extreme house flip where a lot of the before work had been demolished.  I'm standing about in the same spot fo the finish photo.  There was load bearing wall removed where we were able to hide the beam in the ceiling.

A couple just bought this house in the National's in Parkville at came with nice basement wet bar and wine cellar.  However, the lady of the home happens to work for the Gallo Wine Company and the couple desired a real wine cellar.  This means it literally has to be constructed as if it was large walk in freezer, much like the one we did previously above.  This one is different in that all four walls, the floor and the ceiling are concrete where the walls are 8" thick.  We first had to cut a hole through the concrete for the cooling unit.  The area inside has to be a minimum of R-13 and without giving up much space, we accomplished this by knowing the cement is already about R-2 and so we used 1 1/2" rigid foam insulation rated at R-10.  With the vapor barrier and the green board, we achieved the R-14.  The cooling unit has to drain and so we removed more the outside drywall where you can  see the hole we drilled to get the 5/8" condensation line under the cabinets to the sink. 
This photo is just before the cooler went into the cubby hole and otherwise starts to look like the builder built the house this way.  The walls have gone from R-2 insulation to R-13 and are 14" thick.  Now, we're ready for custom door to arrive and the wine racks. 


Door is hung, wine racks going in as well as finish trim.
Share by: